Tag Archives: smoker

Chicken Drumsticks

Chicken Drumsticks is one of my youngest boy’s favourite items out of the smoker. He asks for them from time to time and of course his Dad takes any chance he can get to play around on the smoker.

image

I use a simple rub of black pepper and seasoned salt on them.

image

Get the smoker running at 275 degrees and add a couple chunks of wood. I used hickory.

Place the chicken in the smoker.

image

Cook the chicken until it reaches about 180 degrees internal temperature. This will usually take about 45 minutes with medium size drumsticks. Once we reach 180 degrees we need to deal with the skin.

One of the issues with cooking skin-on chicken in a smoker is the texture. If you don’t cook it right it turns into rubber and is not pleasant to eat. So, at 180 degrees I will remove the water pan and wood tray from the smoker so the chicken receives direct heat. I also crank the temp up to full blast. This is a huge benefit of a gas smoker as this process is easy and fast. You could do the same with charcoal by removing the water pan in your smoker and opening up the air vents to get a higher temperature it will just take longer for the coals to get to full whack.

Cook the chicken at high temp for about 10 minutes, turning the chicken often. You will see the skin brown up nicely. You won’t get crispy skin but you will get bite through skin that tastes great.

At this point you can add sauce if you like or just serve as is. I personally like it with no sauce.

One thing to be prepared for however is pink meat. Smoke turns meat pink, there is no way to avoid it.  Whenever people see pink chicken they get nervous. You didn’t screw it up. This is why we use a meat probe. If you hit 180 degrees and then blasted it for 10 minutes over high heat it will be cooked. I promise.

image

Serve and enjoy!

MD

BBQ Spice Rub

A good spice rub can be a beautiful thing.  It can compliment meat, bring out flavours in sauce and also be a factor in the texture of the meat as well.

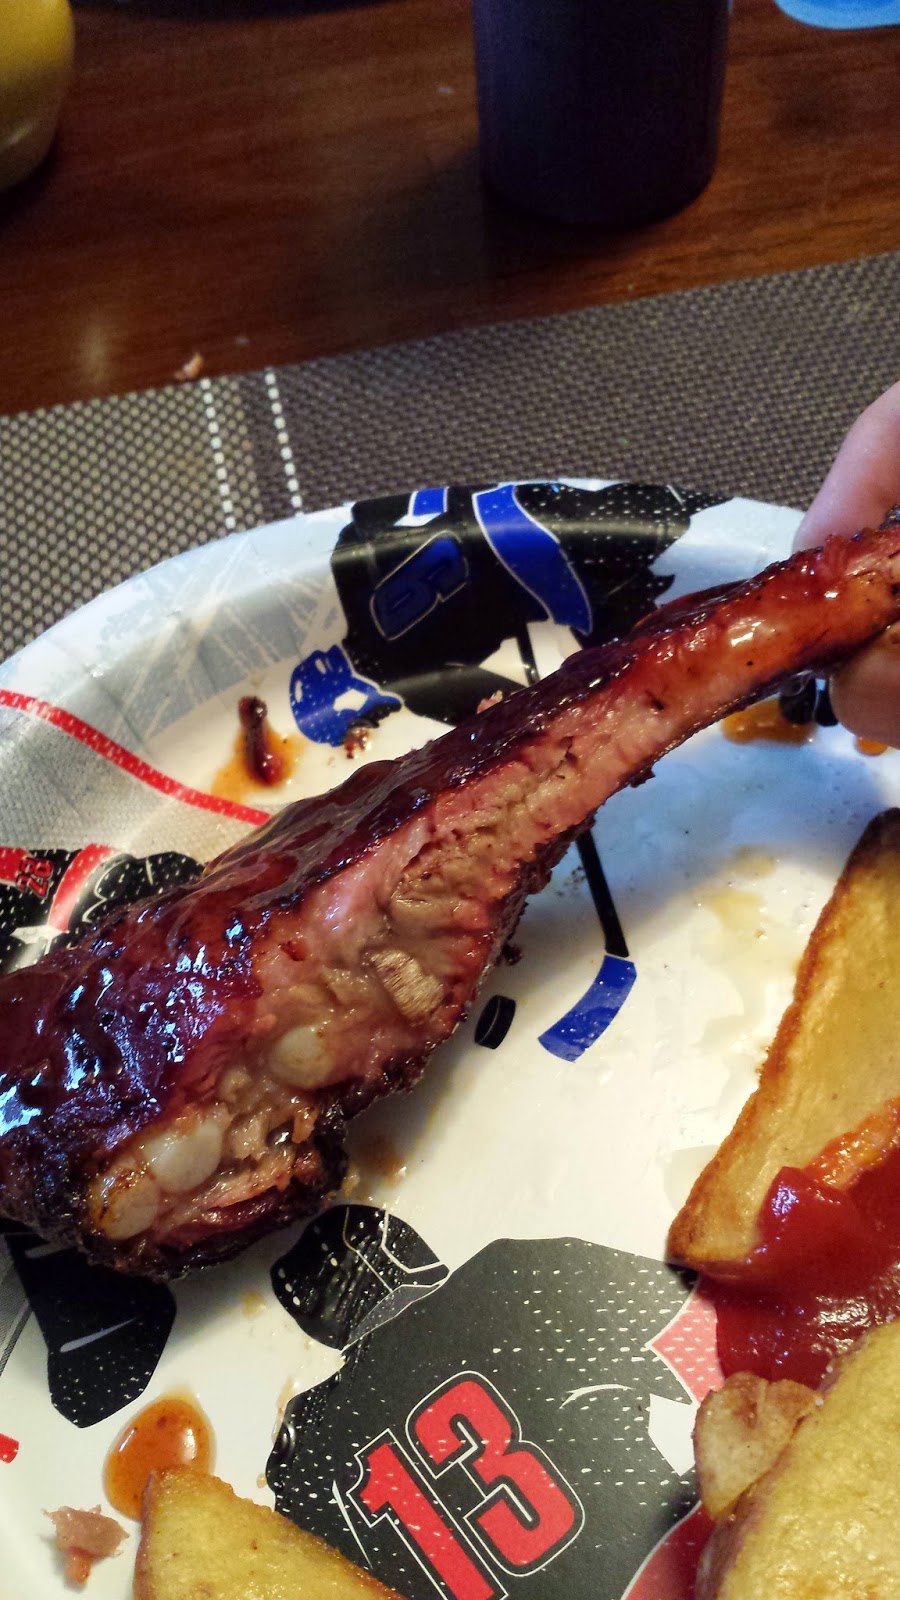
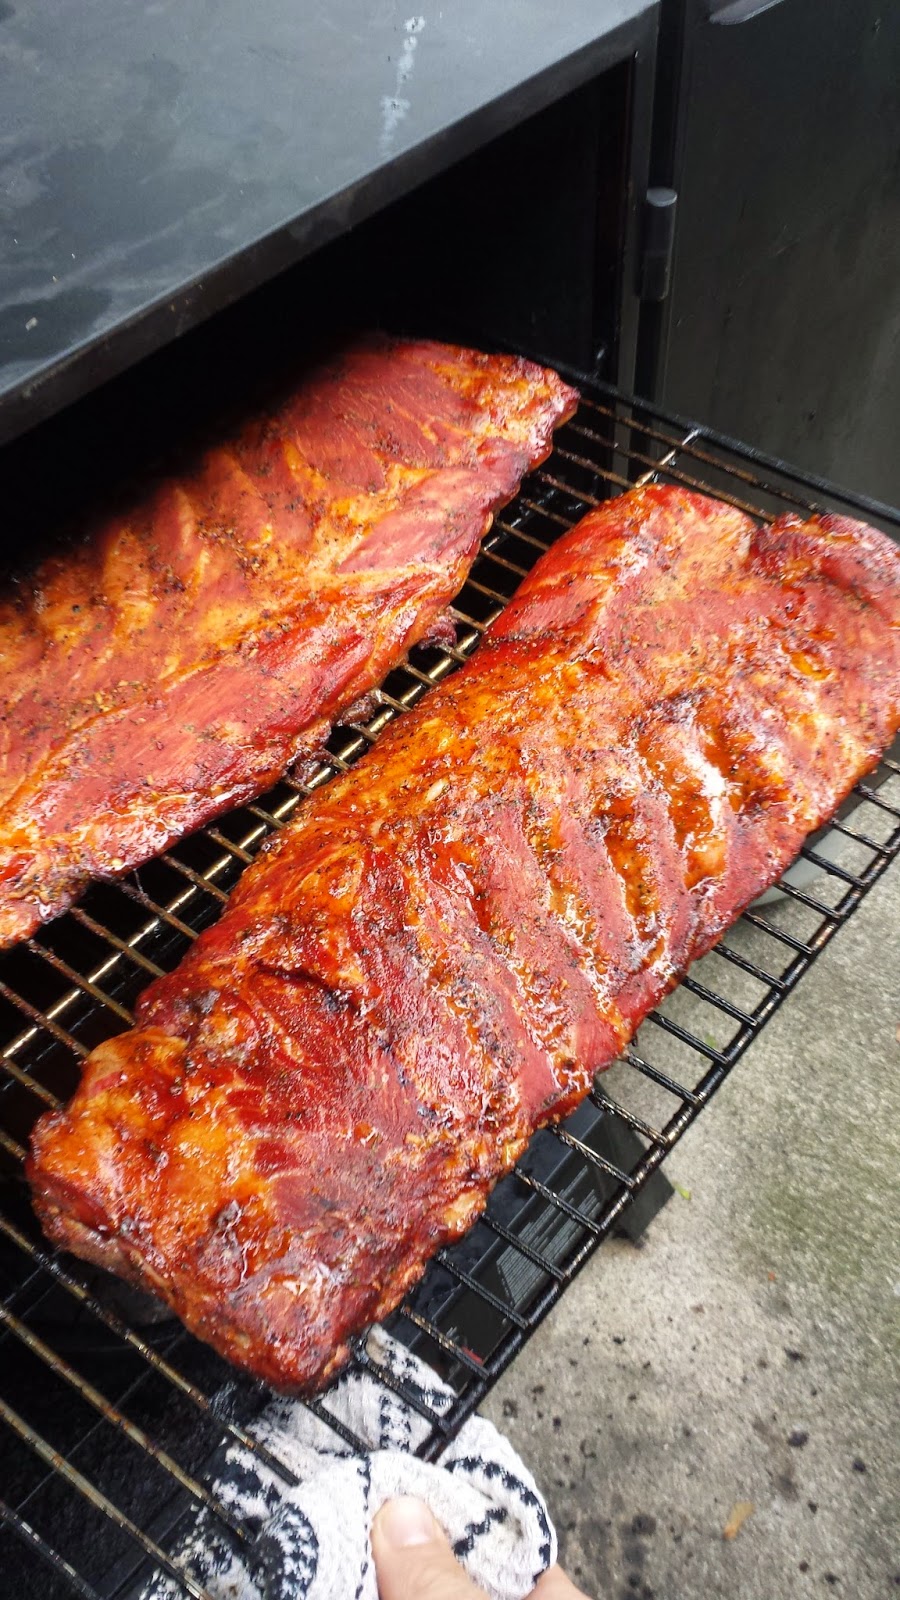
You know those nice crispy dark bits around the outside of a piece of meat? The pieces that taste so good?  You can probably thanks a spice rub for that.  Often times this lovely crust in the BBQ world is referred to as “bark” and is a crucial component in the competitive BBQ world.

8c522-20140802_170100

Just like BBQ Sauces there are literally unlimited combinations you could put together to create a rub.  Head to your closest bulk barn or grocery store, head over to the spice section, close your eyes, spin in a circle and randomly point at 4 or 5 things and you just invented a new rub.  It really can be that simple.

There are a few basics to spice rubs we need to consider; mainly the type of meat we plan to use the rub on.  Chicken and pork traditionally have sweeter and less salty rubs placed on them.  On the flip side of that the flavour of beef can stand up quite well to a good amount of salt.   Of course there is nothing saying you can’t figure out a good spot right smack in the middle of the salt world so your rub is an all purpose rub good on just about everything.

Let’s take a look at some of the major components of a good rub.

SALTS

There are TONS of salts to choose from on the shelves of grocery stores and speciality shops these days.  Everything from regular table salt to Danish Viking-Smoked Sea Salt.  Think I made that one up? Google it, it’s real.  Here is what you really need to consider when choosing a salt.  How “salty” do you want it and how big do you want the chunks.

Not all salts are created equal.  If you use products like Kosher salt and Sea Salts that are bigger chunks the food usually tastes less salty.  The reason?  They are larger and a inconsistent size so they take up more space than a fine ground table salt.  SO, if you use a tablespoon of Kosher Salt it will have less weight than a tablespoon of table salt.  Check your salt packages, they list sodium per weight usually.  Therefore less weight equals less sodium which is what gives salt it’s “salty” taste.  Did that make sense?  Watching your sodium intake? Use Kosher or large grain Sea Salt.

From a purely texture standpoint there are benefits to having a nice fine ground salt, as well as big chunks of kosher salt.  Finer grains are nicer for rubs that you hope melt into the flesh and disperse throughout the meat it touches. Fine salts also usually produces a nice soft exterior on the meat as salt dissolves fast and doesn’t draw out as much moisture.  Large chunks however will help if you want to actually rub the meat down to help tear the top layer of meat fibres and to build a crust. Larger chunks of salt will dissolve slower because they are bigger and therefore will draw out more moisture.  Drier meat gets crispier.

Here is another big factor, cost.  Remember that Danish Viking business?  $25 for 3 ounces.

SUGARS

What to use? White sugar, brown sugar, raw sugar… Almost as many choices as salts.  Let’s cover the 2 most common.

White sugar has a more up front sweetness.  It will give rubs an almost candy like taste if enough is used.  Because the sugar is also finely ground in most cases it will melt quickly.

Brown sugar has a deeper, richer flavour.  The brown in brown sugar is due to its Molasses content.  Light brown sugar just has less molasses and will give it a milder flavour than the more upfront flavour of full on dark brown sugar.  One downside to brown sugar is the amount of moisture in it.  It has a tendency to clump up in rubs.

Demerara and Turbinado Sugar are often the go to choice in BBQ rubs.  They are dry like a white sugar, have the flavour of brown sugar and are large crystals which gives the benefit of a slower melt which lessens the chance of burning while it cooks.  Sugars like brown sugar and white sugar have a tendency to burn under high heat cooking. The large crystals are also favourable for rubbing meat to help with the tearing of surface fibre, just like kosher salt.

PEPPER

My favourite ingredient in all rubs.  I love pepper.  Black pepper, white pepper, cayenne pepper, chilli pepper, you name it.  The benefit of pepper is that it provides some heat.

Heat helps to wake up your taste buds and enhances the overall flavour of the meat and rub.  Some meats can handle more pepper than others.  Beef loves pepper.  Chicken likes pepper.  Fish and pepper are old school buddies, they like a little of each other but too much would ruin the friendship.  These are not hard and fast rules however.  If you wanna pepper the crap out of your perch fillets go for it.  There are no rules in cooking.  If you like it, do it.

You will usually see ground black pepper called for in BBQ rubs.  You will also usually see a varying amount of cayenne.  I would say these are the 2 most common.  However, white pepper can be nice if you really want to bump up the heat as well.  Use what you like.

BASE FLAVOURS

These spices are what bring all the other parts of the rub together and carry the rub.  These spices are usually fairly mild in flavour so we can use a lot of it.  The big 2 are chilli powder and paprika.  Usually in close quantity to our sugar amount they help to give an underlying base note to our rub.  Chilli powder and paprika are not the only ones you can pick from.  Cumin would be great in a southwest inspired rub. Use your imagination here.

STAR FLAVOURS

These herbs and spices are what makes your rub what you intend it to be.

Usually these spices are used in small amounts as they could be overpowering if used in large quantities.  With these spices you can take your rub anywhere in the world you want to go.  Add some cumin, turmeric, ginger,ground coriander, clove, etc. and you have a curry style rub.  Add cinnamon, nutmeg, allspice, clove, thyme and you are in Jamaica with a Jerk inspired rub.  Oregano, basil, parsley, garlic powder, chili flakes and we are in Italy.  I think you get the point.  You can do anything here.  Think about the prominent flavours of the type of food you want to create and add them into your rub.

PAIRING WITH SAUCE

Make sure your rub works with the sauce you intend to use, or, let the rub speak for itself and don’t use a sauce.  Usually I try to use similar spices in my  rub as I did in my sauce.  Nothing goes better with ginger than ginger and there is no reason I couldn’t use it in both the rub and the sauce.  Another option is to figure out what you want the overall flavour to be and have the sauce and rub compliment each other rather than mirror each other.  For example, if I want a sweet and spicy combo, make a sweet sauce and use a spicy rub.  They may not have similar ingredients but will match up and play nice together.

BBQ RUB RECIPE

Here is a recipe for a fairly basic BBQ Rub.  Take this base and play with it.  You can always make up a big batch of the base and each time you make a new BBQ item take out a cup of base rub and jazz it up with different flavours each time.

BBQ RUB

Good on all types of meat.

  • 2 cups turbinado sugar (or brown sugar)
  • 1/3 cup kosher salt
  • 1/4 cup chilli powder
  • 1/4 cup paprika
  • 3 tablespoons ground black pepper
  • 1 tablespoon cayenne pepper
  • 1 tablespoon onion powder
  • 1 tablespoon garlic salt
  • 1 tablespoon parsley flakes
  • STAR FLAVOURS OF YOUR CHOICE!

Combine all ingredients in a bowl and mix well.  Store in an airtight jar or ziploc bag and keep in a cool, dark location.

Enjoy!

MD

Jalapeno Popper Dip

Who doesn’t love real Jalapeno Poppers?  A fiery pepper, hollowed out then stuffed with a cream cheese and spice mix that gets wrapped in bacon and cooked?!  In my experience, a lot of people are afraid of them at first because they think the jalapeno is going to blow their head off with heat.  And yes, I will admit that occasionally you will get one that maybe wasn’t cleaned out properly or is just naturally hotter than others but for the most part they are fairly mild. Once people try them they love them.

This dip came to life due to one simple reason.  I was feeling lazy.  It is a good amount of work to cut, clean, mix, fill, wrap a ton of these things.  So, I had a thought….why not just cut it all up, toss it in a dish and bake it or throw it on the smoker as a dip?!

And voila.  I have been making it lots ever since.

wpid-20140809_124012.jpg

This dip is pretty easy to make.

Here is what you are going to need:

  • 14 Jalapeno Peppers
  • 8 Strips of Bacon
  • 1 and a half bricks of room temperature cream cheese
  • 2 tablespoons of BBQ Rub
  • Cheddar Cheese
  • 10 inch baking dish
  • Preheated 350 degree oven, BBQ or smoker

I start by cutting up the bacon into strips to basically make home made bacon bits, but a little bigger.


20140809_121128

Cook the bacon until nice and crispy.

20140809_121716

Once the bacon is done, put it on a piece of paper towel to get rid of the excess grease. Get rid of the bacon grease out of the frying pan but leave about 2 tablespoons in the pan. Set a
bacon aside.

wpid-20140809_122107.jpg

Next is the peppers.

We want to core them to get rid of the pith (white stuff) and seeds.  This is where all the heat is. So, if you like them hotter leave some in. If you want them mild, get rid of it all.

I use a jalapeno corer I got as a gift in a kit designed for making jalapeno poppers.  I just did a quick google search for “jalapeno corer” and lots came up if you are looking for one.  If you don’t want to go to the hassle of finding one, a spoon or knife would work as well.

20140809_120451

20140809_120507

Once they are all cleaned out, cut them into quarters and then again into small strips.

20140809_121428

Put them into the frying pan that has the bacon grease and cook until they are slightly browned and softened.

20140809_123613

Meanwhile, In our baking dish, combine the cream cheese and BBQ Rub.  Use a fork and incorporate the rub into the cheese and spread evenly along the bottom of the dish.

20140809_123046 20140809_123525

Put the cooked peppers on top of the cream cheese mix.

20140809_123626 20140809_123654

Next, grate as much or as little Cheddar Cheese as you like over the peppers.  I always put a nice amount on.

20140809_123741 20140809_123832

Top with the bacon.  **Optional** I usually save about 2 tablespoons of really finely diced raw jalapeno to sprinkle on top as well.  Looks nice!

20140809_123850 20140809_124012

Put into your preheated smoker, oven, BBQ.

Cook until the cheese is melted and bubbly.

20140809_173524

Serve with tortilla chips and enjoy!

MD

Ribs

Definitely one of the most popular items everyone thinks of and craves when they think of BBQ.  We have an entire “Fest” in London in honour of them after all!

This weekend just happens to be Ribfest.  However, I didn’t feel like heading downtown and spending big bucks on a small taster of ribs when I know I can make 10 times as much food for a 10th of the cost and make them exactly how I like them.

Inspiration for this actually hit me while at Costco.  I wasn’t there for Ribs but then I saw this….

Now normally I’m not a fan of pre-seasoned anything.  I like to use my own homemade rub to get the taste I’m after but these called out to me and who am I to ignore the call.  Plus, they were only $20 for 2 rather good size slabs of St. Louis Cut Side Ribs.  Normally I get Back Ribs as this is what most people prefer.  But I felt like a change.

Off I went (after a few samples and a $1.50 hotdog and drink!) to the smoker.

Here’s what they looked like opened up and laid out….not bad!

 On the top shelf of my Masterbuilt Propane Smoker with some Cherry Wood chunks (3) smokin up the scene…

Smoked them at 230 degrees for about 4.5 hours.

Now, if you don’t have a smoker you can still pull this off.  You will need a BBQ with at least 2 burners (preferably more) and enough room for the ribs.

Turn one side of the BBQ on to about Medium-Low or whatever temperature you need to achieve 225-240 degrees on your BBQ with the lid shut.  Leave the other side of the BBQ OFF.

Create a smoke pouch by getting some tinfoil and some wood chips (available almost everywhere with a decent BBQ section), soak them in water for a couple hours and put about 2 cups of the chips in the foil and fold the foil over and crimp to create a pouch.  Take a fork and poke a bunch of holes in the foil.

Place the smoke pouch on the burner that is on.  Wait for the first wisps of smoke.

Place the ribs on the side of the BBQ that is OFF.  Shut the lid.  DO NOT OPEN THE LID for at least 2 hours ensuring the BBQ stays in the desired Temperature range.

At the 2 hour mark rotate the ribs so that the rack that was closest to the ON burner is now farthest away.

Close the lid and cook for another 2 hours approximately.  Sauce Ribs and cook for another 30 minutes.

Test rib doneness by picking up the rack with a pair of tongs.  If the racks looks like it is about to fold in half and break, you are set.  By the way, you don’t want them to break.  If they do, you went too far.

EAT

Here is half way….

Almost there…

Once they were almost done (30 mins. left to go) it’s time to add the sauce…

I used my homemade sauce…It’s a sweet with a bit of heat type sauce.  Most people who try it love it.

Here is the final product….

Good flavour from the rub. You can see the pink around the outside of the cut rib.  That’s where the smoke got into the meat.  It turns meat pink.  Plenty juicy and plenty tasty.  My verdict…the Costco pre-seasoned ribs are definitely something I would get again and would recommend to a friend.

Any questions??

Me

Hi, my name is Mike Deman and I am a BBQer.

For the last bunch of years I have been a part of a professional BBQ team (Can’t Stop Grillin’) that travels around North America competing in BBQ contests. Not rib fests mind you, the real deal. Contests where you compete in different categories and submit your offerings to judges in a blind tasting. Awards are then dolled out but it’s more about the bragging rights and the fun and challenge of it all.
The team I have been part of has had some fairly decent success. Highlights for me would be winning multiple grand championships in Canada and the USA, winning an invitation the the Jack Daniels International BBQ Championship in Lynchburg,  cooking for the US Ambassador and a few thousand of his closest friends for a 4th of July party at the US Embassy but most of all….showing my kids that meat comes from animals, veggies are grown in the ground and there’s more than just ketchup that belongs on a burger.

I love to eat. That’s my inspiration for sure. My other inspiration is the people around me.  I think with anyone who enjoys cooking the best part is watching others try your stuff. I love sharing what I cook and feeding as many people as I can something that maybe they have never had before.

With having a wife and 2 young boys I’m a pretty busy guy. But never too busy to throw something in the smoker for a friend or bbq something up and spend some time with family.

MD

Jerk Chicken

If you’ve never heard of it before you really don’t know what you’re missing. If you’ve been lucky enough to travel to Jamaica and have this right on the sandy beaches as you roast in the carribean sun you know what this is all about.

Now here’s my big confession…I’ve never been to Jamaica!  I can hear it now…”How could he possibly know how to make jerk chicken and have the nerve to call his close to authentic if he’s never had it in Jamaica?!”

Easy.  I didn’t and I won’t. I will say this. I have made it for a few people who HAVE been to Jamaica; and recently for some people FROM Jamaica and other places in the Caribbean and have been told it’s as close as they’ve had since they’ve been there. I’ll take it.

The big secret? The wood. Jamaican jerk chicken is traditionally cooked over Pimento wood. So, I found some. I got it at Ontario Gas BBQ in Vaughn. It is not cheap but worth it in my opinion. You could make it without the wood but you will be missing something.

As for the marinade, here comes another shocking secret, I use a bottled marinade. Now here’s the catch. It’s from Jamaica. I have made the marinade from scratch before but found I spent 10 times longer and 10 times as much $$$ to produce a marinade that tastes exactly like the bottle that’s $4. I have tried as many brands as I can but I prefer the Graces brand. Now there is one benefit to making your own. You can control the heat.

Now for the prep. I try to marinade my chicken pieces at least 24 hours. I prefer using bone in, skin on, dark meat but use whatever floats your boat. Place in a zip lock bag and add as much or as little marinade as you like. It will seem like you need a lot as it is a thick paste but a little does a big job. I personally will get the pack of thighs from Costco and use almost the whole bottle if not the whole thing. It will be hot. Not “hot” like when you order wings and they aren’t. I mean tear producing hot. I love it.

The cooking process is easy. Cook on a smoker preferably or indirectly on a BBQ at about 275 degrees until the chicken is fully cooked. I will blast it at the end over full flame to give some char and crispify any skin. Make sure you either use the pimento wood in the smoker or make a smoke pouch for the BBQ. The wood is good.

Make sure you have lots of drinks available and go at it.
Enjoy.

MD

My Gear

One of the things I am asked about most is what type of bbqs and smokers I use when I make my food.

I have a variety of smokers, a propane and a charcoal grill and am always on the lookout for a new toy.

Here is a rundown on the current Smoker arsenal….

The always versatile Weber Smokey Mountain

And yes, I have both the small and large variety.

These are probably the best bang for your buck entry level charcoal smokers.  You can do anything from whole chickens, ribs, pulled pork, turkeys, desserts, whatever.  And yes, I have done all of those.  These bad boys will force you to learn the art of controlling air flow, charcoal and water pans.  I doubt there is a smokey mountain owner alive that doesnt know the distinct smell of a water pan run dry in one of these.

These guys run on charcoal.  Wood chunks are added to give  smoke flavour to the food.  Charcoal alone also has the ability to impart some flavour especially if you spend the extra couple bucks and get a good kind like Basque.

The Masterbuilt Extra Wide Propane Smoker

There are going to be those out there who will tell you that I am a sell out for using a propane smoker.  That it doesn’t make “true” bbq.  That this is for lazy people.

My response……so what?!  I really honestly could care less.  BBQ snobs be hatin’

This thing rocks.  To be honest, I probably use this 95% of the time I have to cook anything.  Why?  Its easy, its huge and it makes good food.

This thing is my #1 smoker now.  Yes, charcoal does feel more “real” when I use it and produces a slightly different product but notice I used the word different and not better.

Of course this is purely my opinion.

This can do anything and everything you can possibly think of including acting as a spare oven for Christmas or Thanksgiving by not adding wood, or moonlighting as a warming cabinet once everything is cooked.

This thing works on a standard propane tank and wood chunks or chips.  I prefer the wood chunks as it gives a longer and easier to control smoke than wood chips.  Wood chunks can be harder to find, especially in London Ontario but they are worth the effort.  I know Lowes carries hickory wood chunks.

I have been asked very recently what smoker I would recommend to backyard enthusiasts and I would go with the Masterbuilt every time.  I know of 2 people who have purchased these on my recommendations and both of them love it.  In fact a 3rd has purchased as well but I am still waiting on a verdict and a 4th person is in the near future.

Any questions, let me know!

Welcome!

Well….

Here is something I never in a million years thought I would do; create a blog.  I mean really, who could possibly be that interested in reading what I have to say or to be honest; how could I possibly think anything I have to say could be that interesting?!

This blog exists as it is now because of one specific reason.  I have been asked multiple times over the last few years for recipes, tips, tricks, advise, etc. on all things food, cooking and bbq.

So, I am going to en-devour to log all things creative, new, interesting and whimsical here on this page for all to see.  If you come here once or come here a million times that will be up to you.

What I hope is that this is a page to share what my friends and family have enjoyed and how I went about creating those items.

With all that said….welcome!

Look around and who knows what you might find!

MD