Tag Archives: C.S.G.

Is It Done Yet?

Temp vs Time.  A battle as old as time.  The epic struggle between gut feeling and instruction.  The quest to understand that not all things are created equal and it is these differences that define it.

Now I’m not talking about any epic moral dilemma here, but simply the idea that not all recipes are created equal and not all items we plan to cook (especially proteins) can be “recipized”.  I just invented a word I think (autocorrect’s red underline lets me know!).

Let’s look at some facts.  Almost all recipes in existence will note a time till completion.  These road maps to our current culinary adventure give us something concrete and solid to hang on to and guide us.  For most recipes, you can follow them from stem to stern as written and end up with a wonderful dish.  Here is the exception: Meat.  Have you ever come across a turkey that was cooked for the recommended time per pound as suggested and still need 17 cups of gravy to get through it?  Have you ever cooked 2 pieces of chicken, one over done and one still pink?  Ever cooked a steak for 4 minutes per side and not end up with that perfect medium rare the website you were referencing promised?  Wanna know why?

Time is not king when it pertains to meat.  The key to successful protein perfection?  Temperature.

An investment in a decent temperature gauge for internal meat temperature will instantly improve your success with meat.

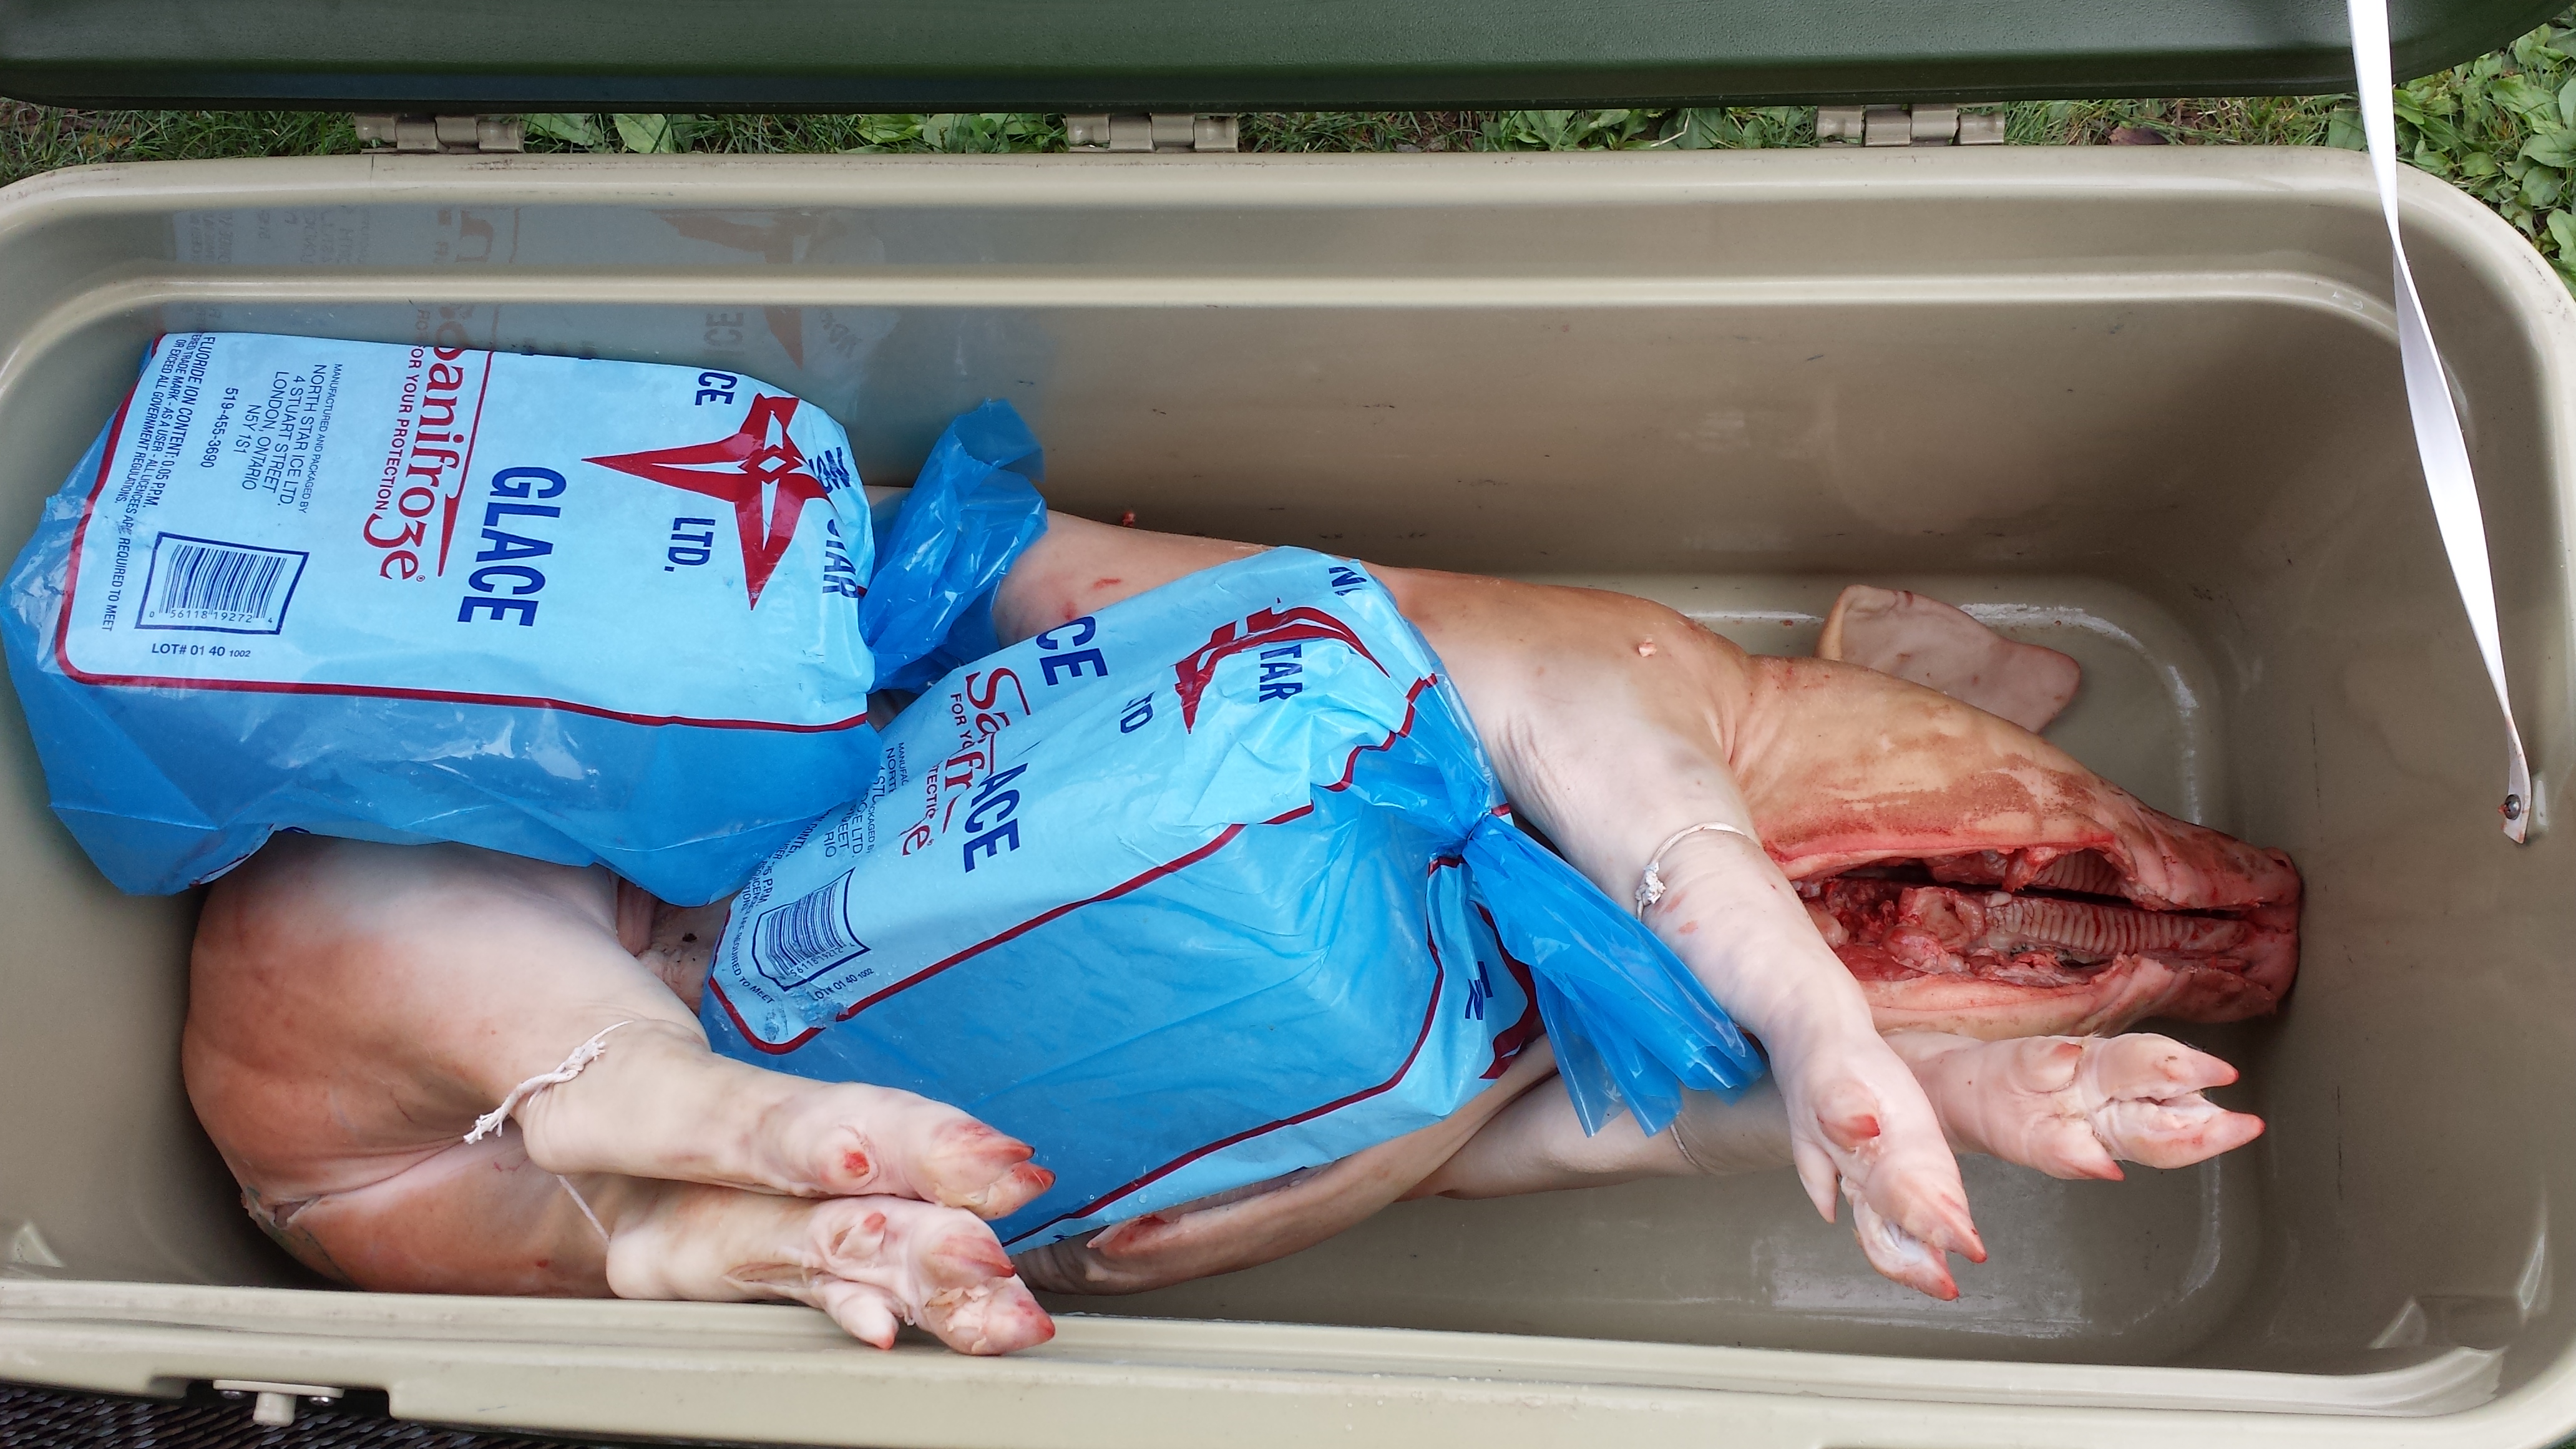
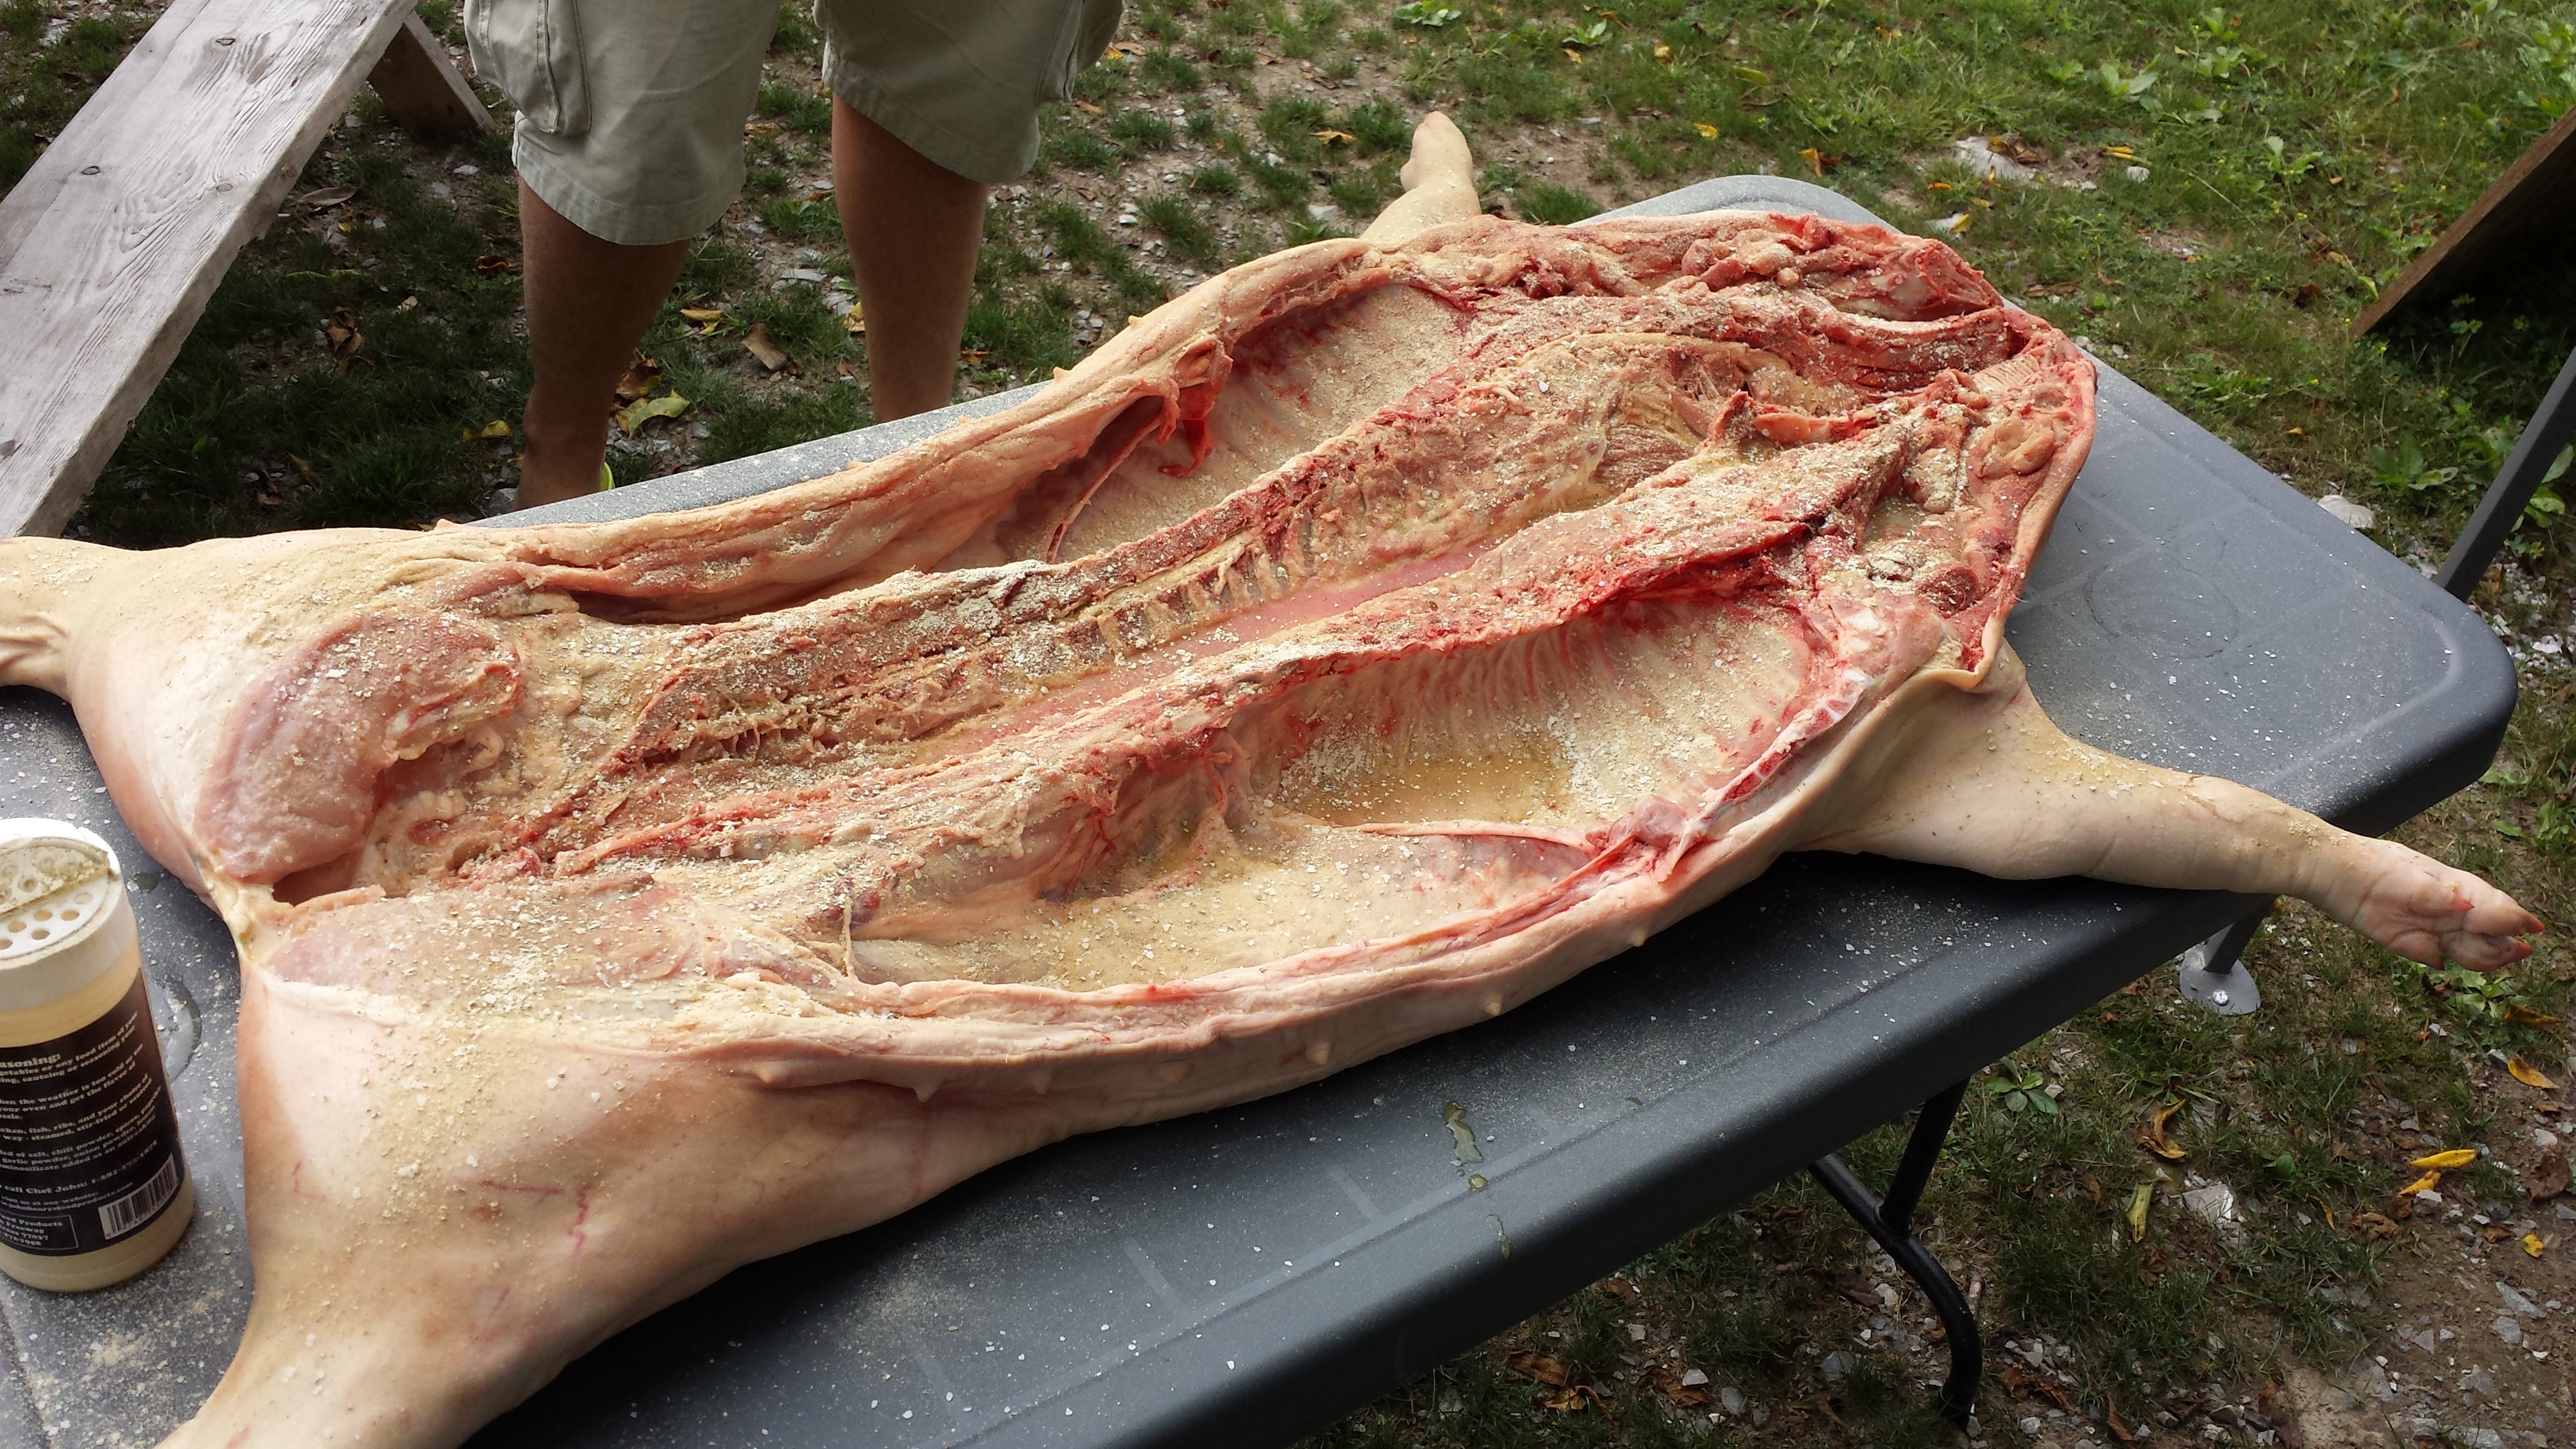
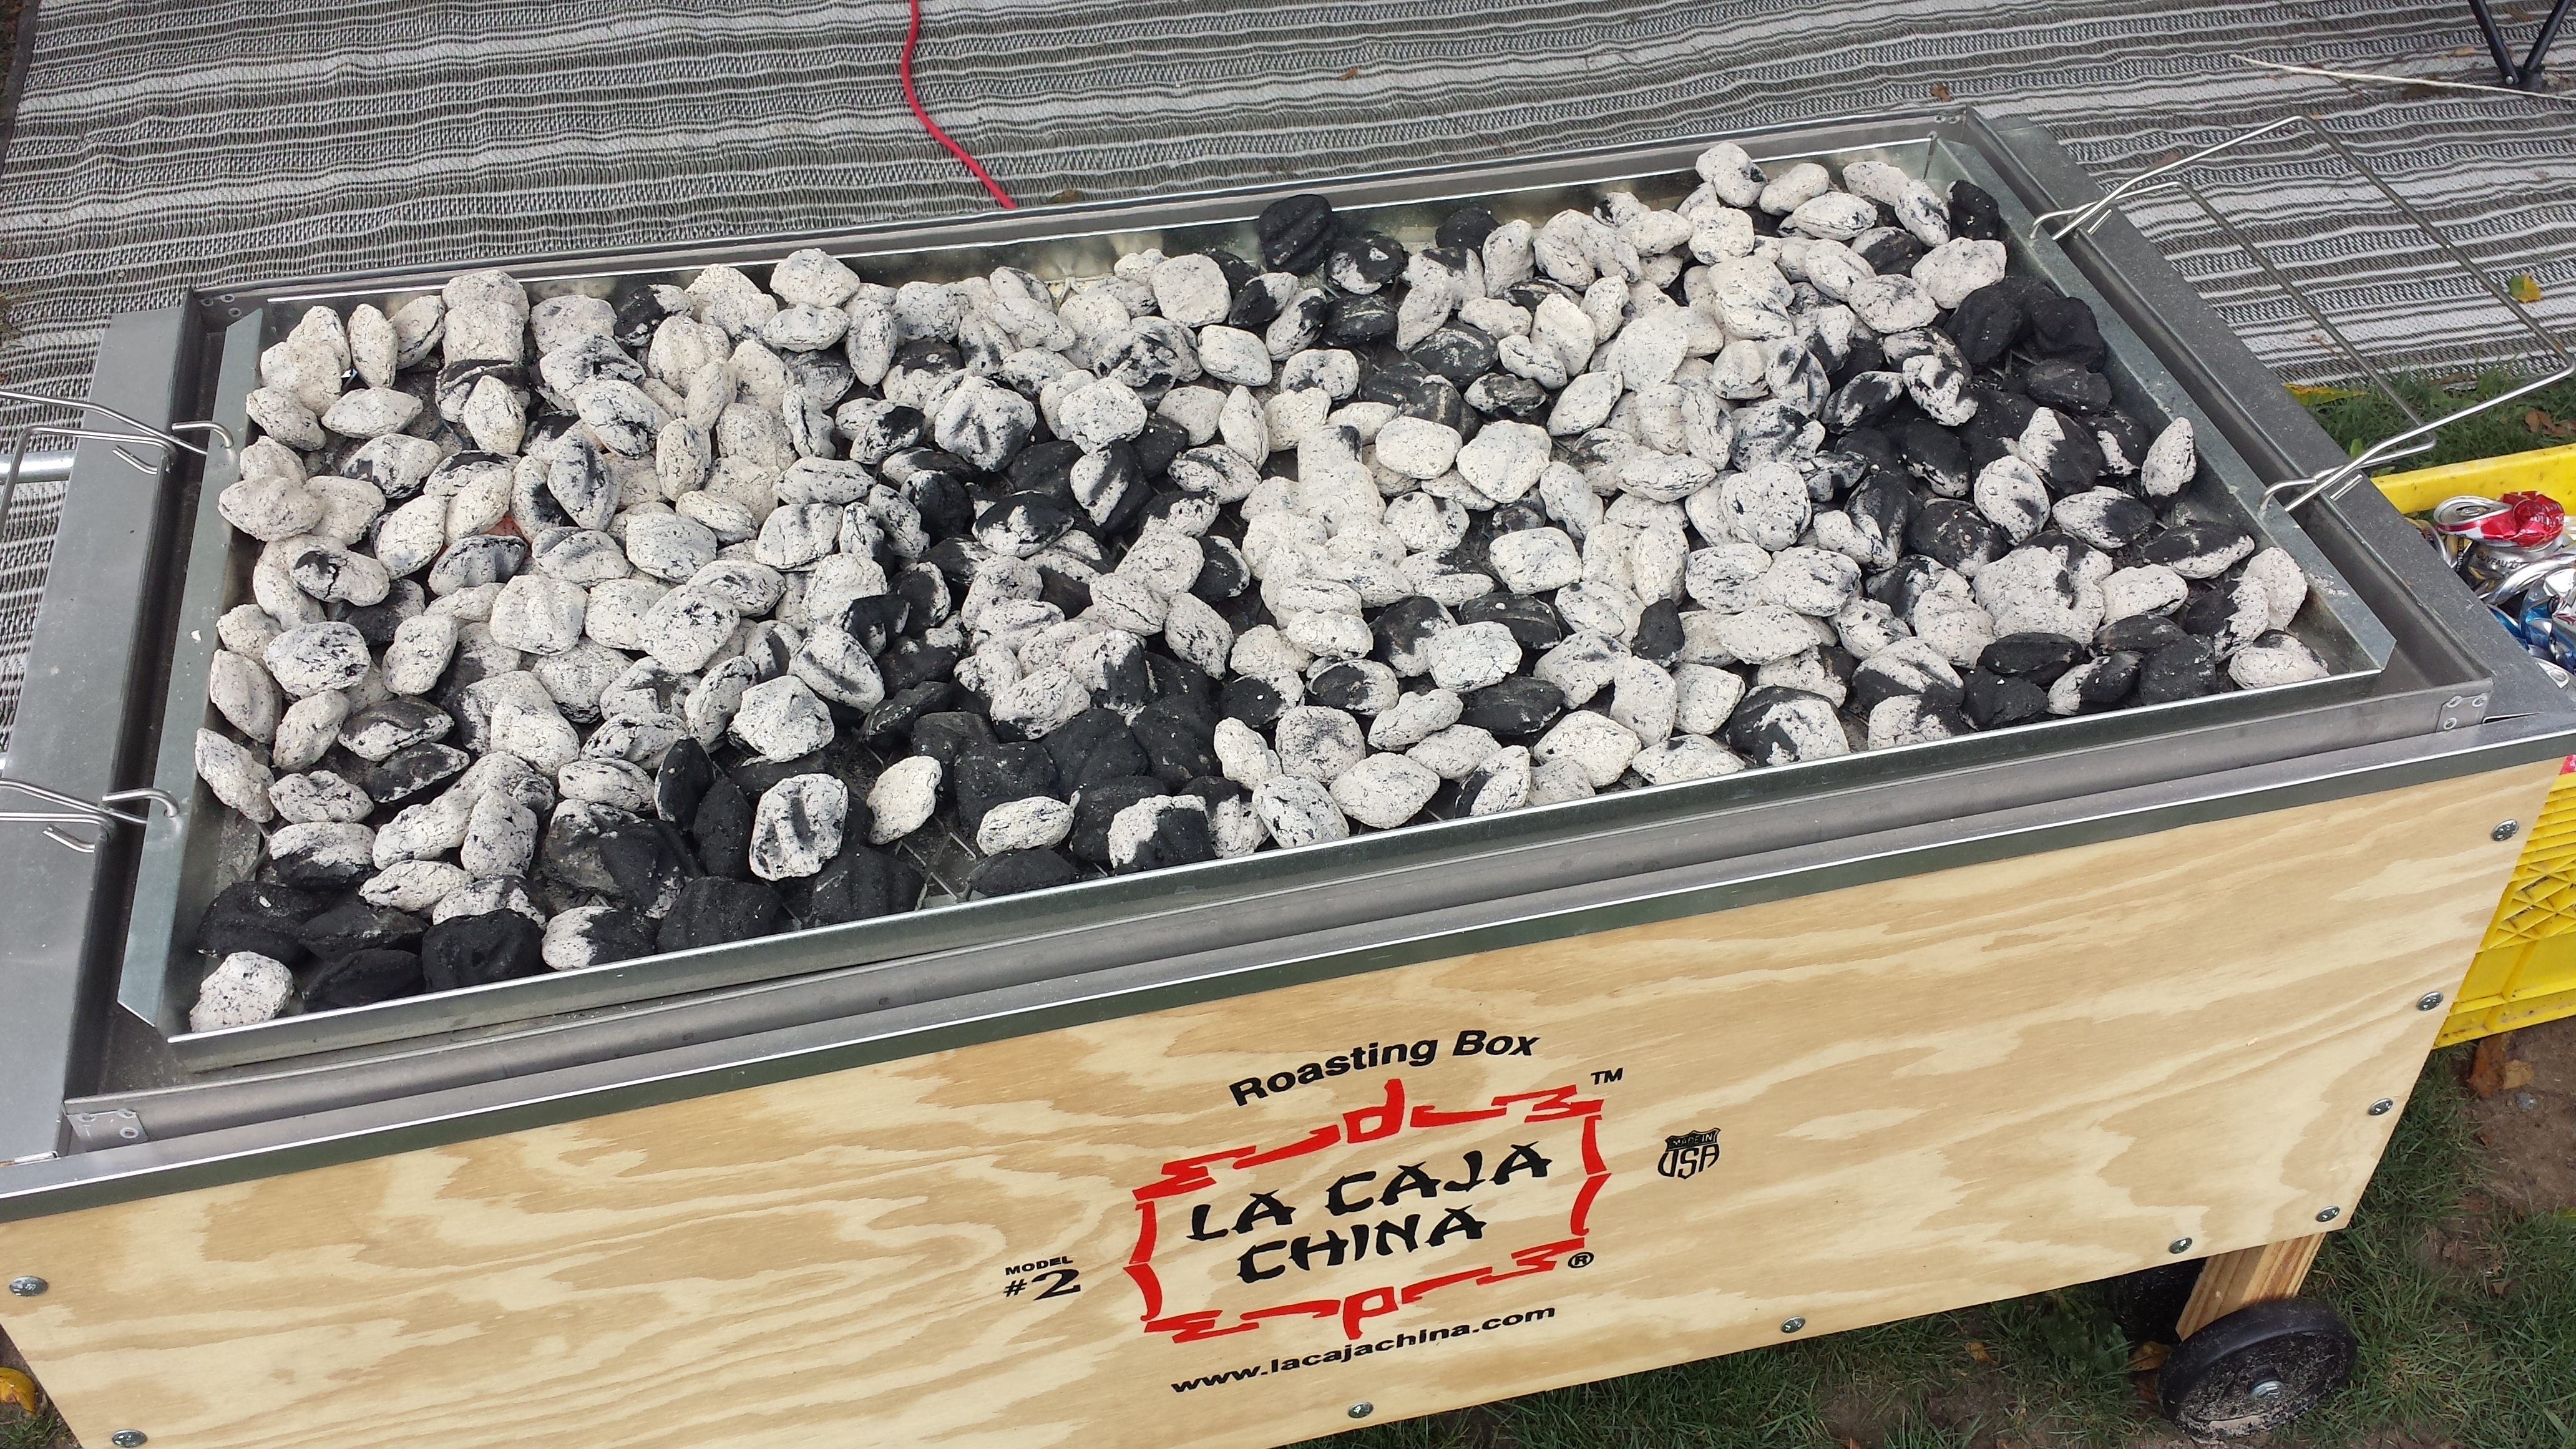
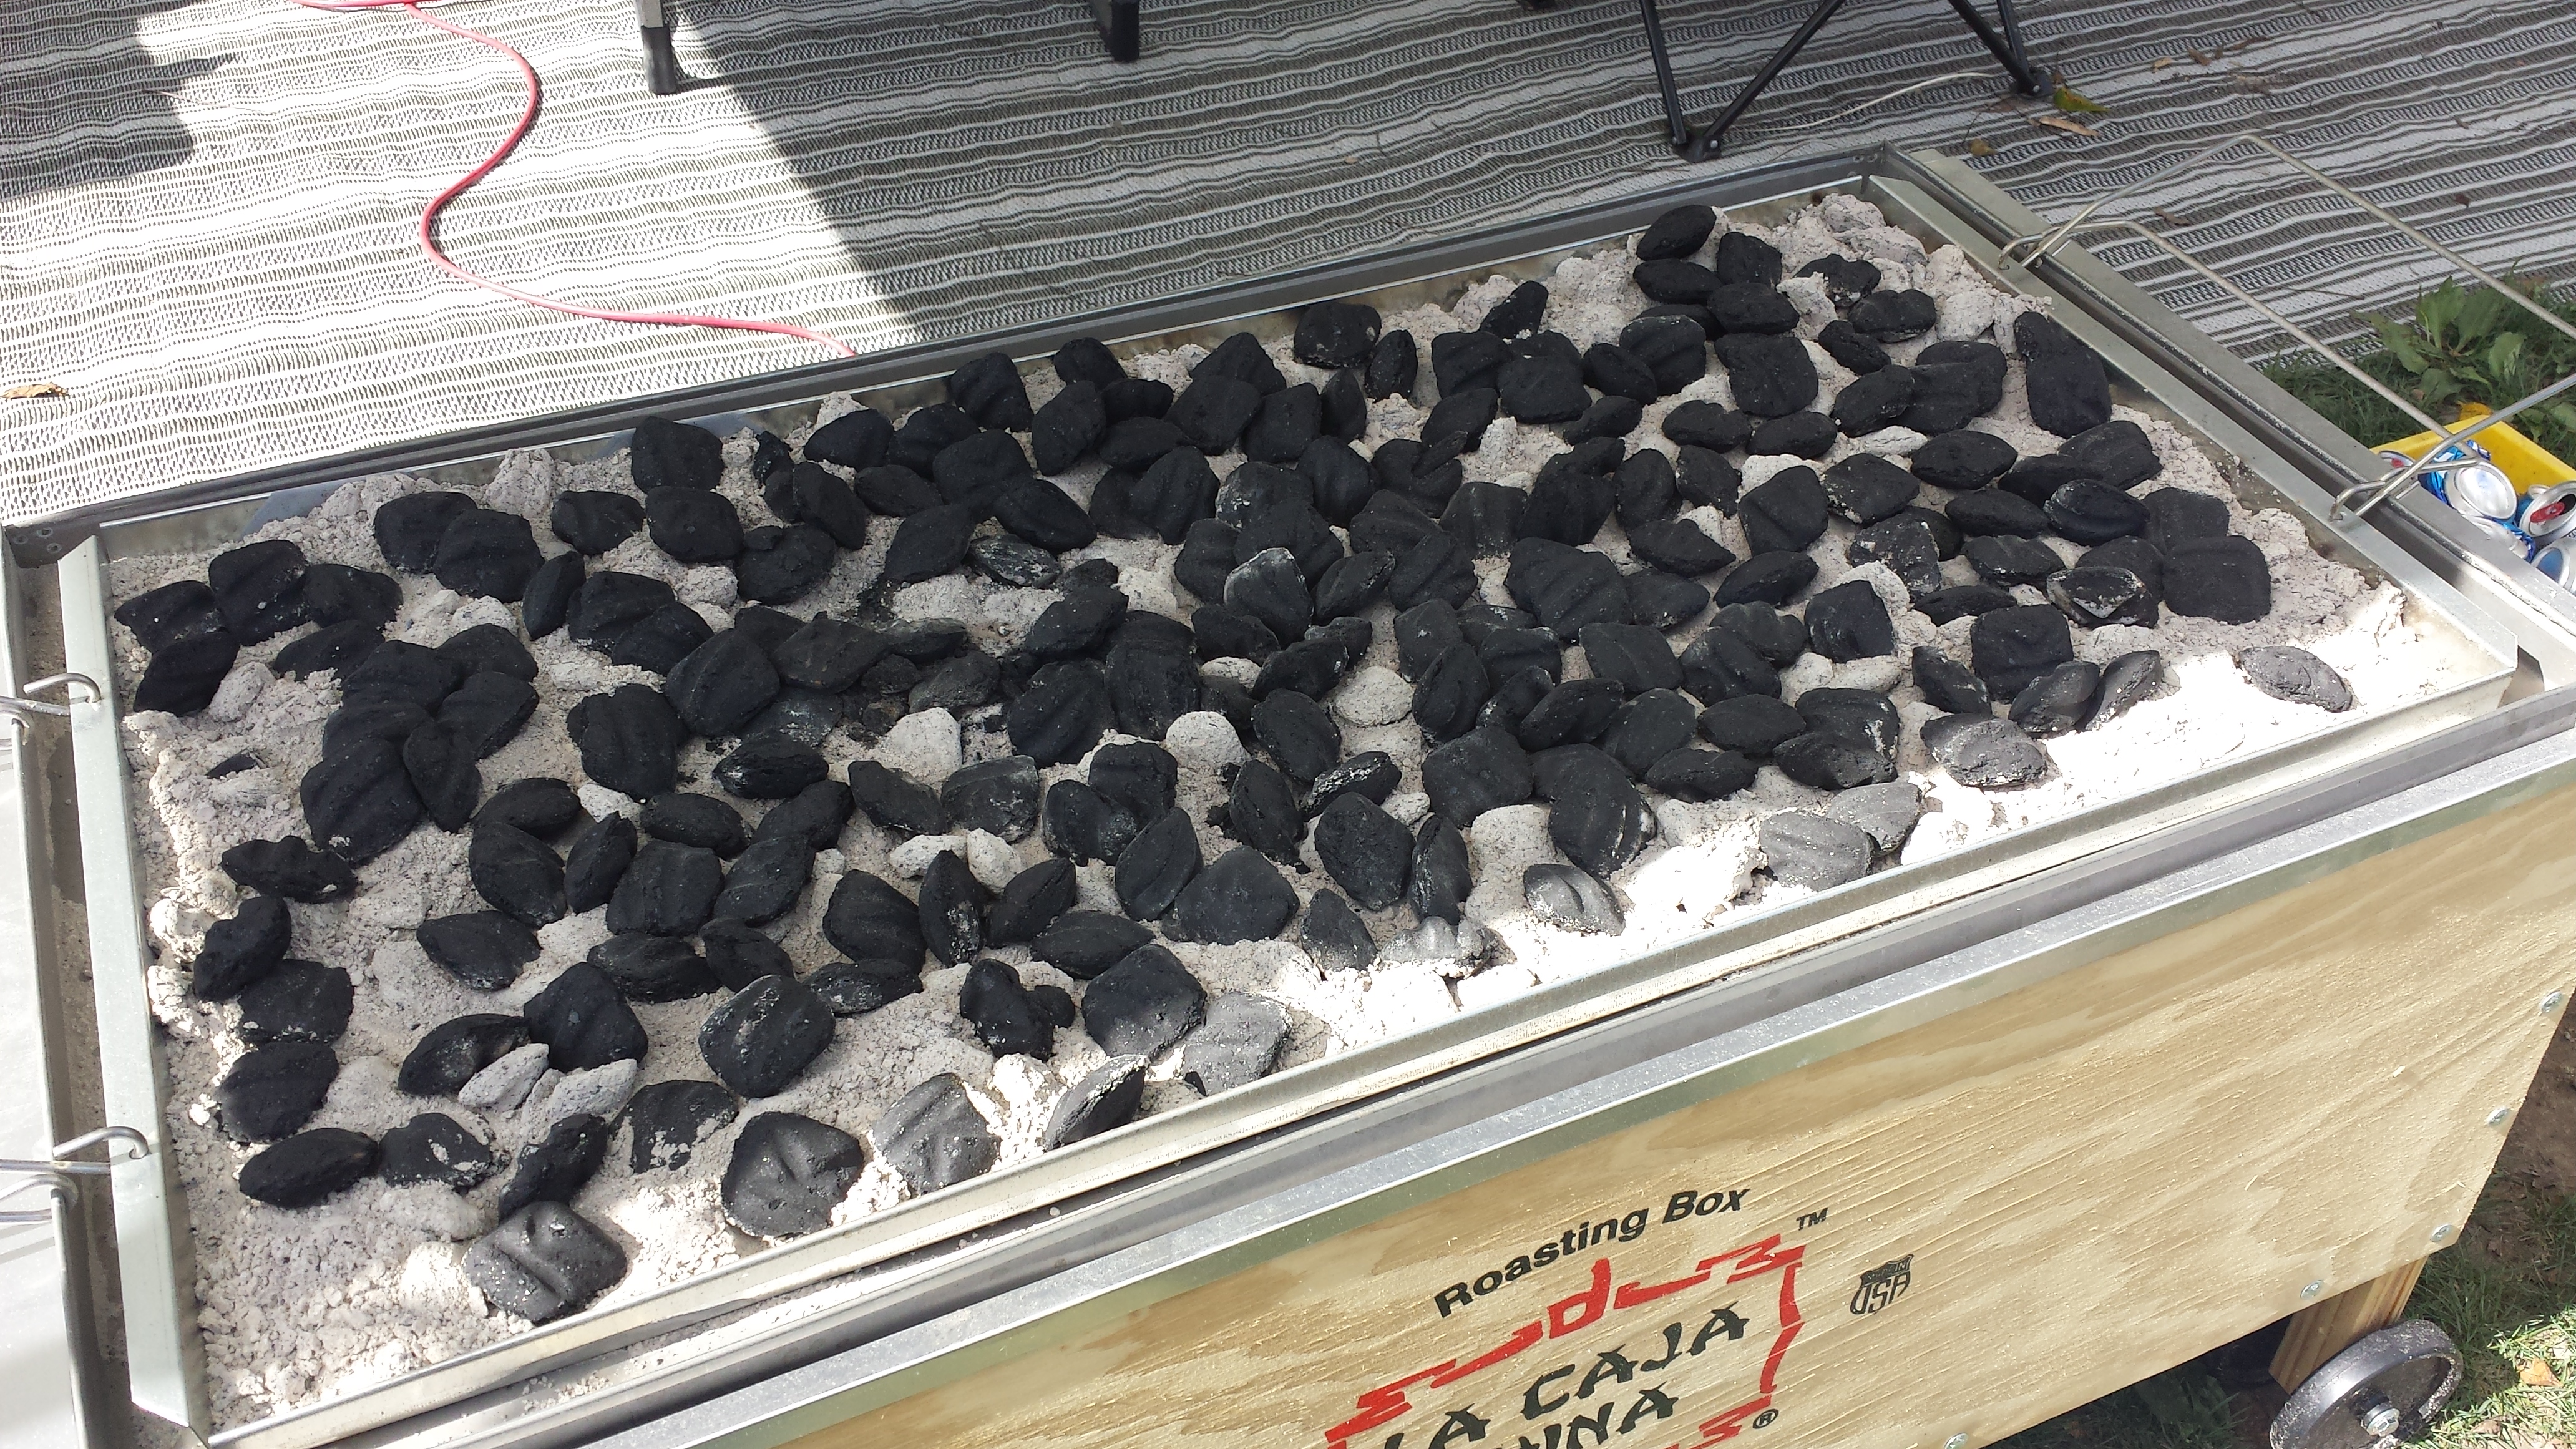
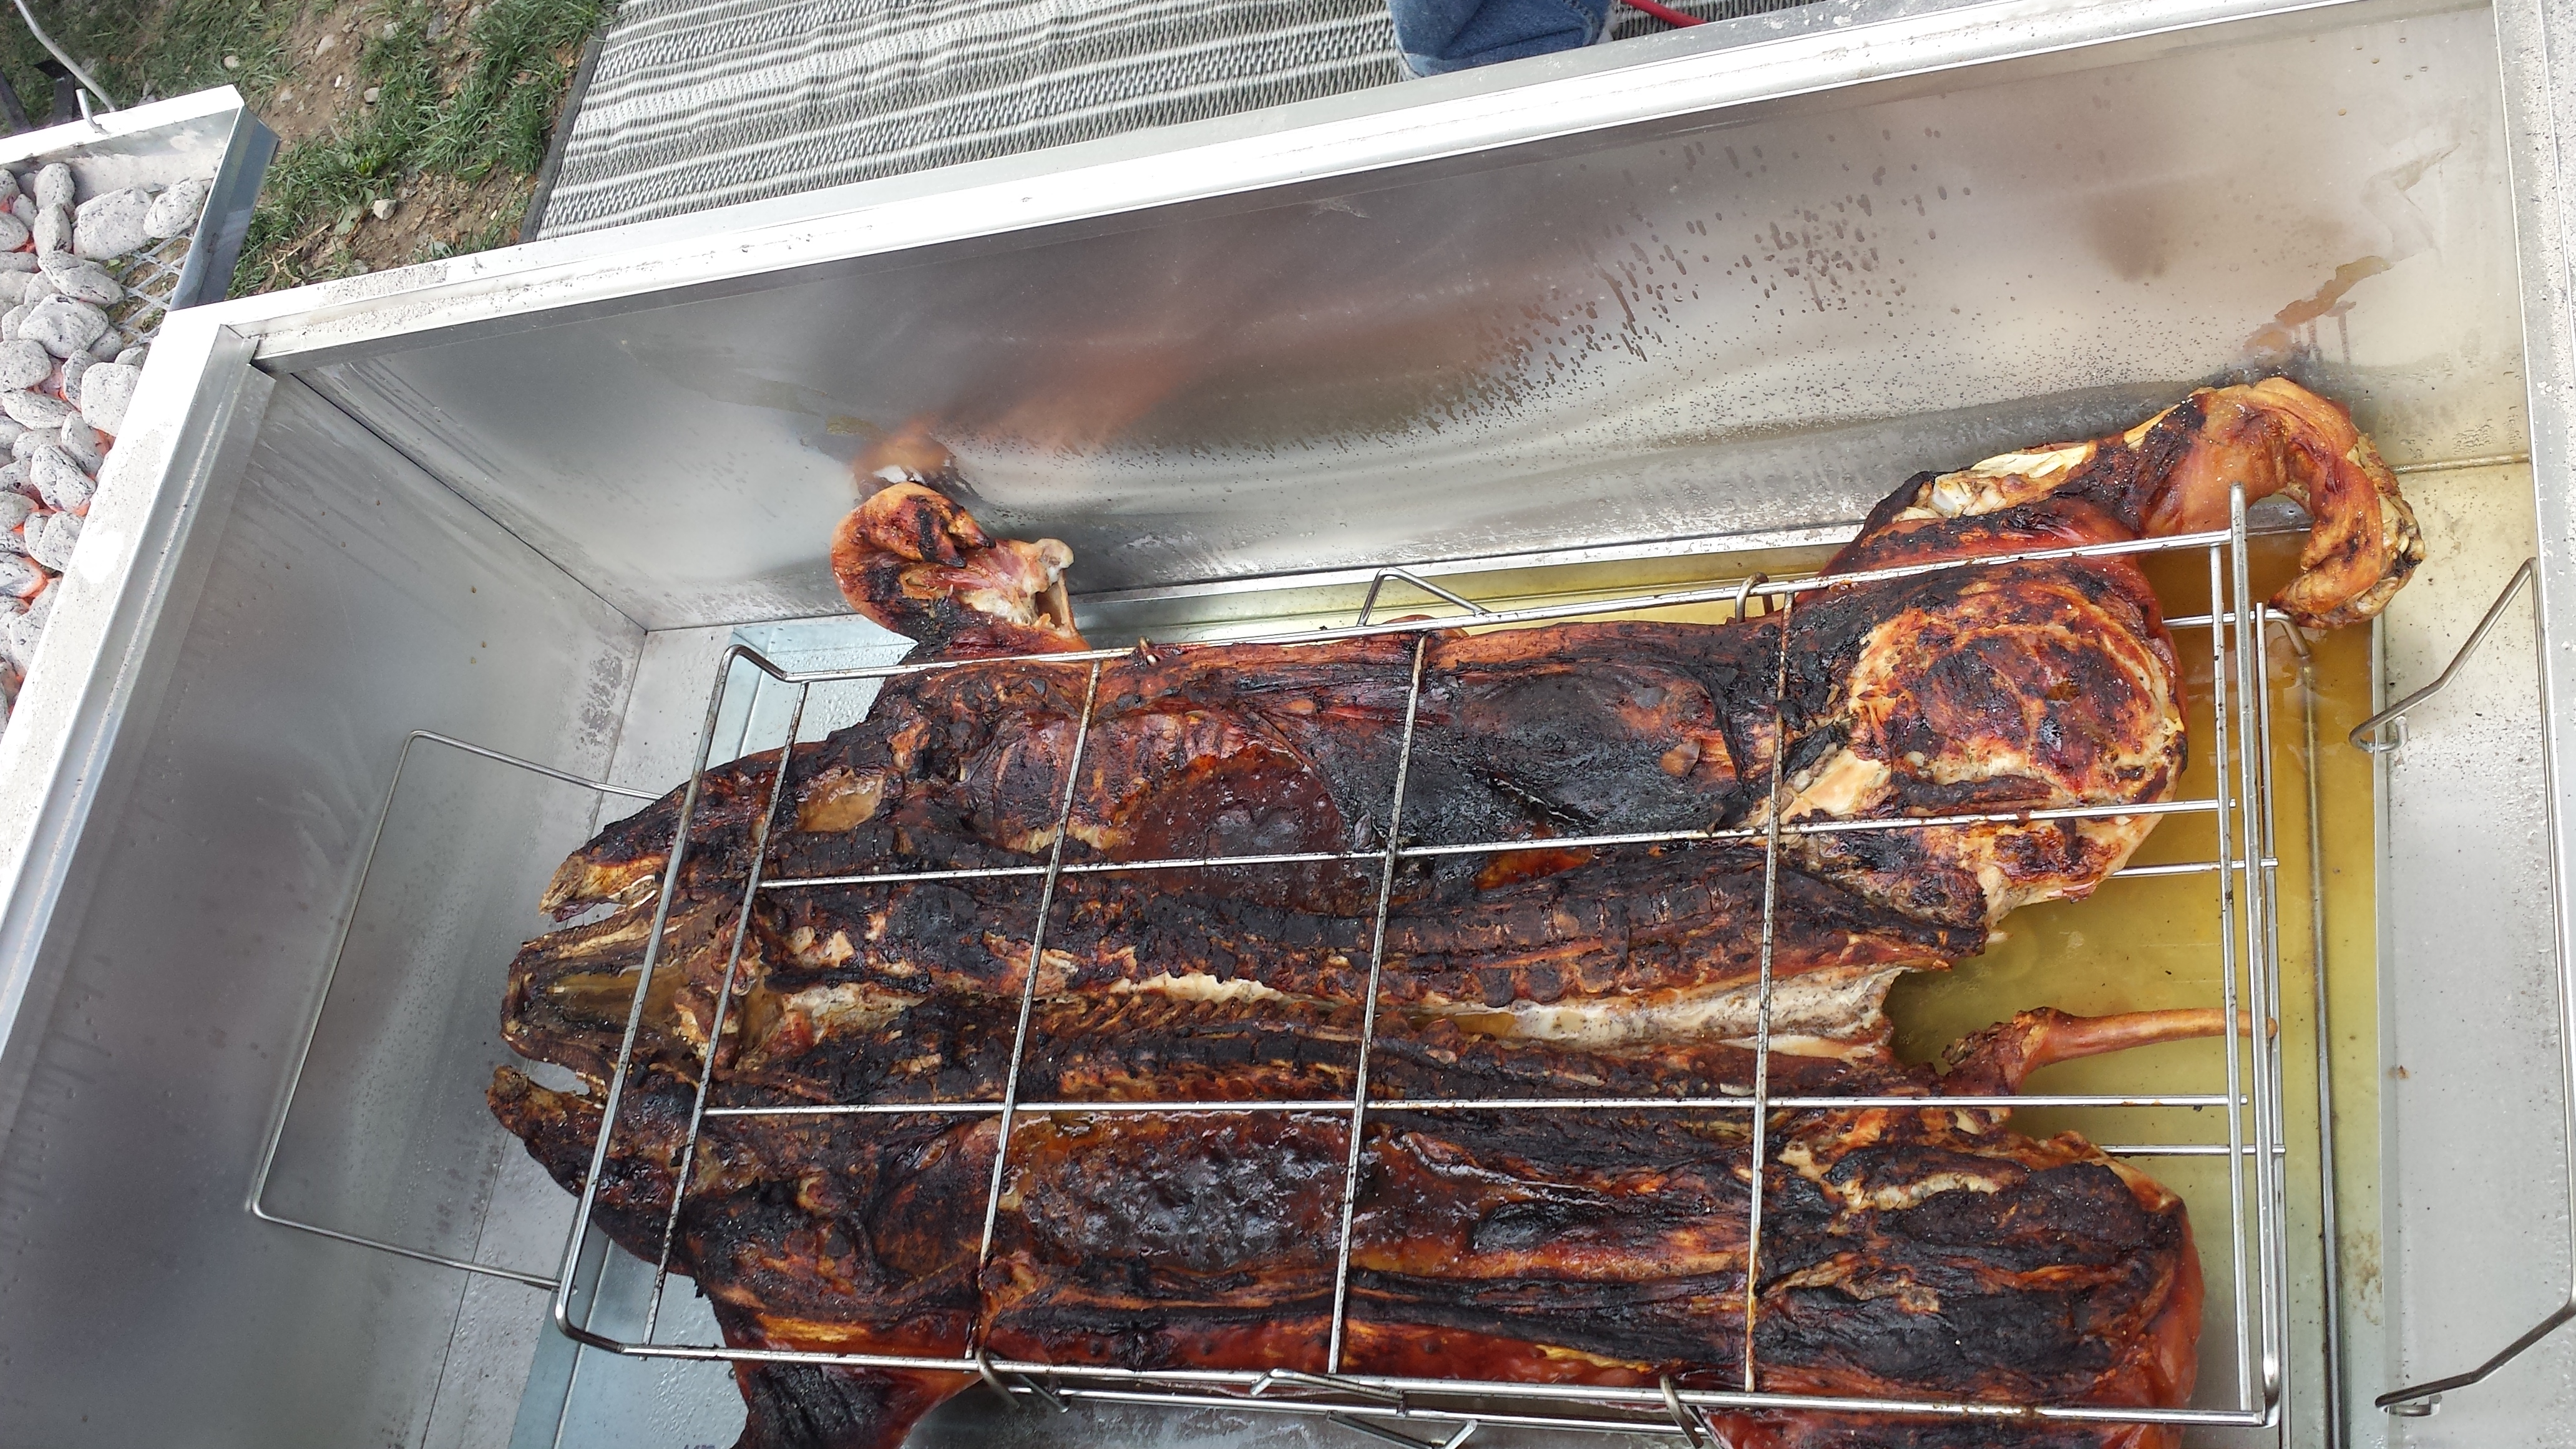
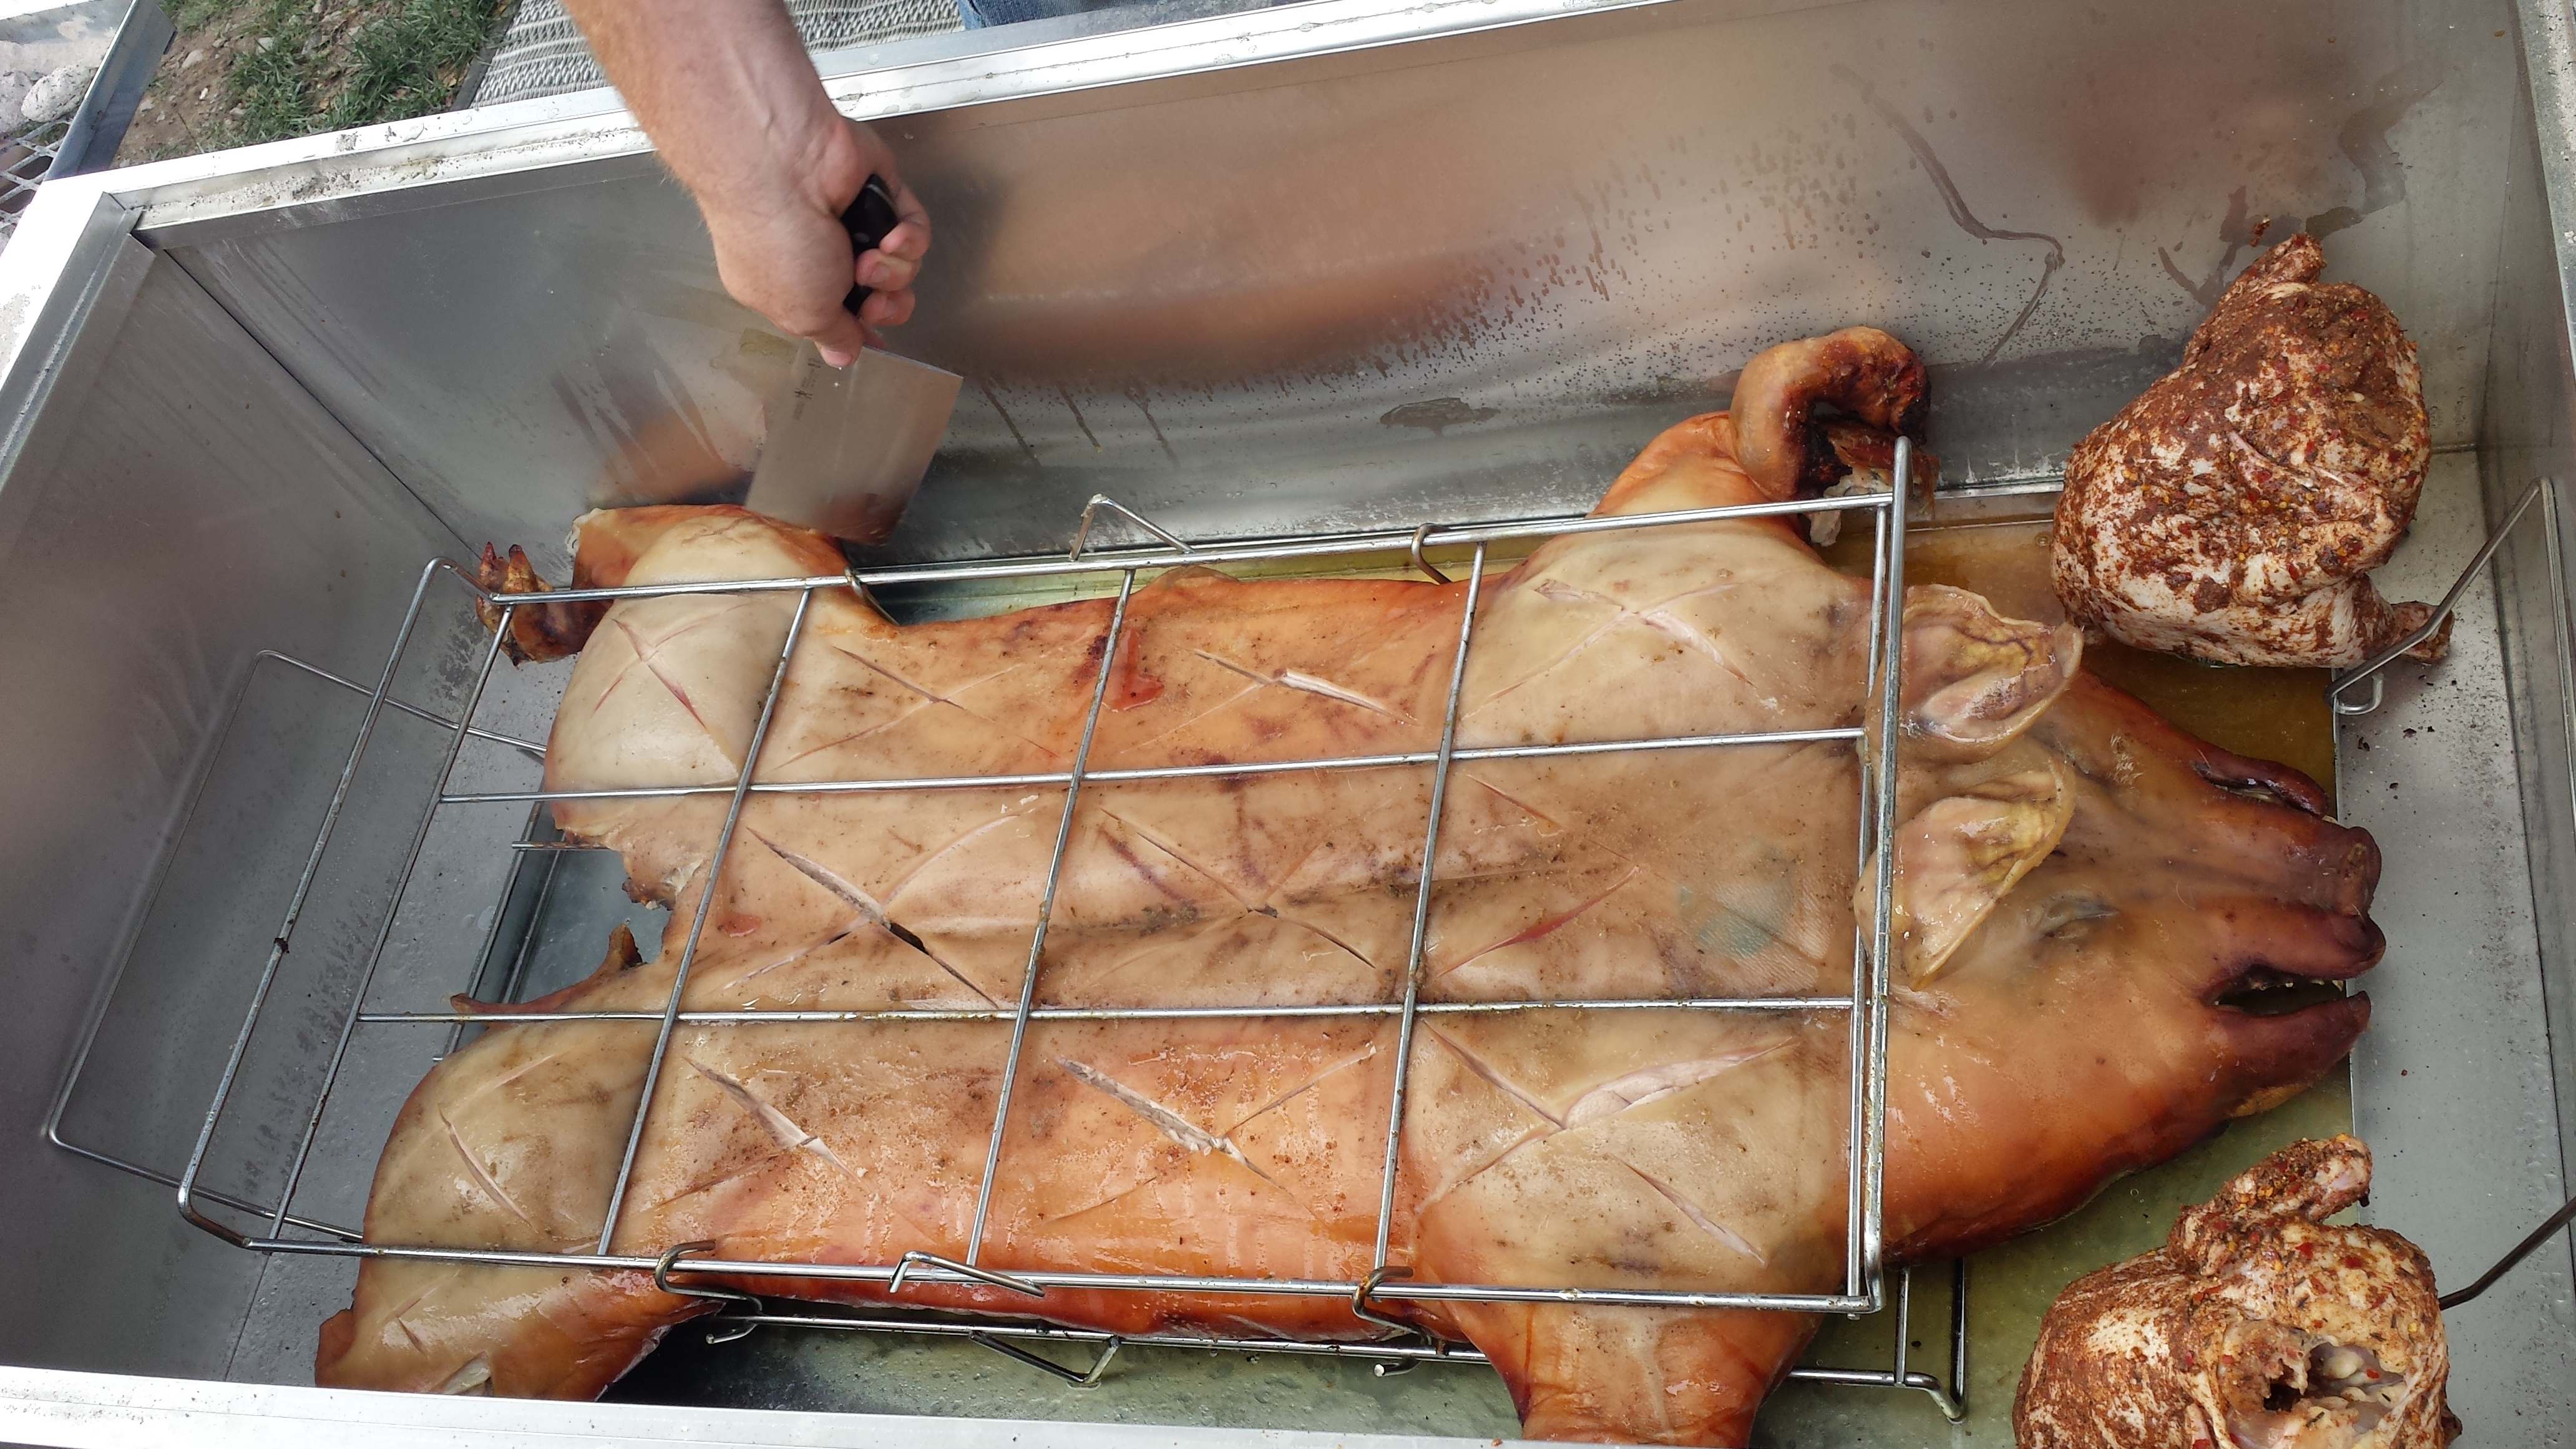
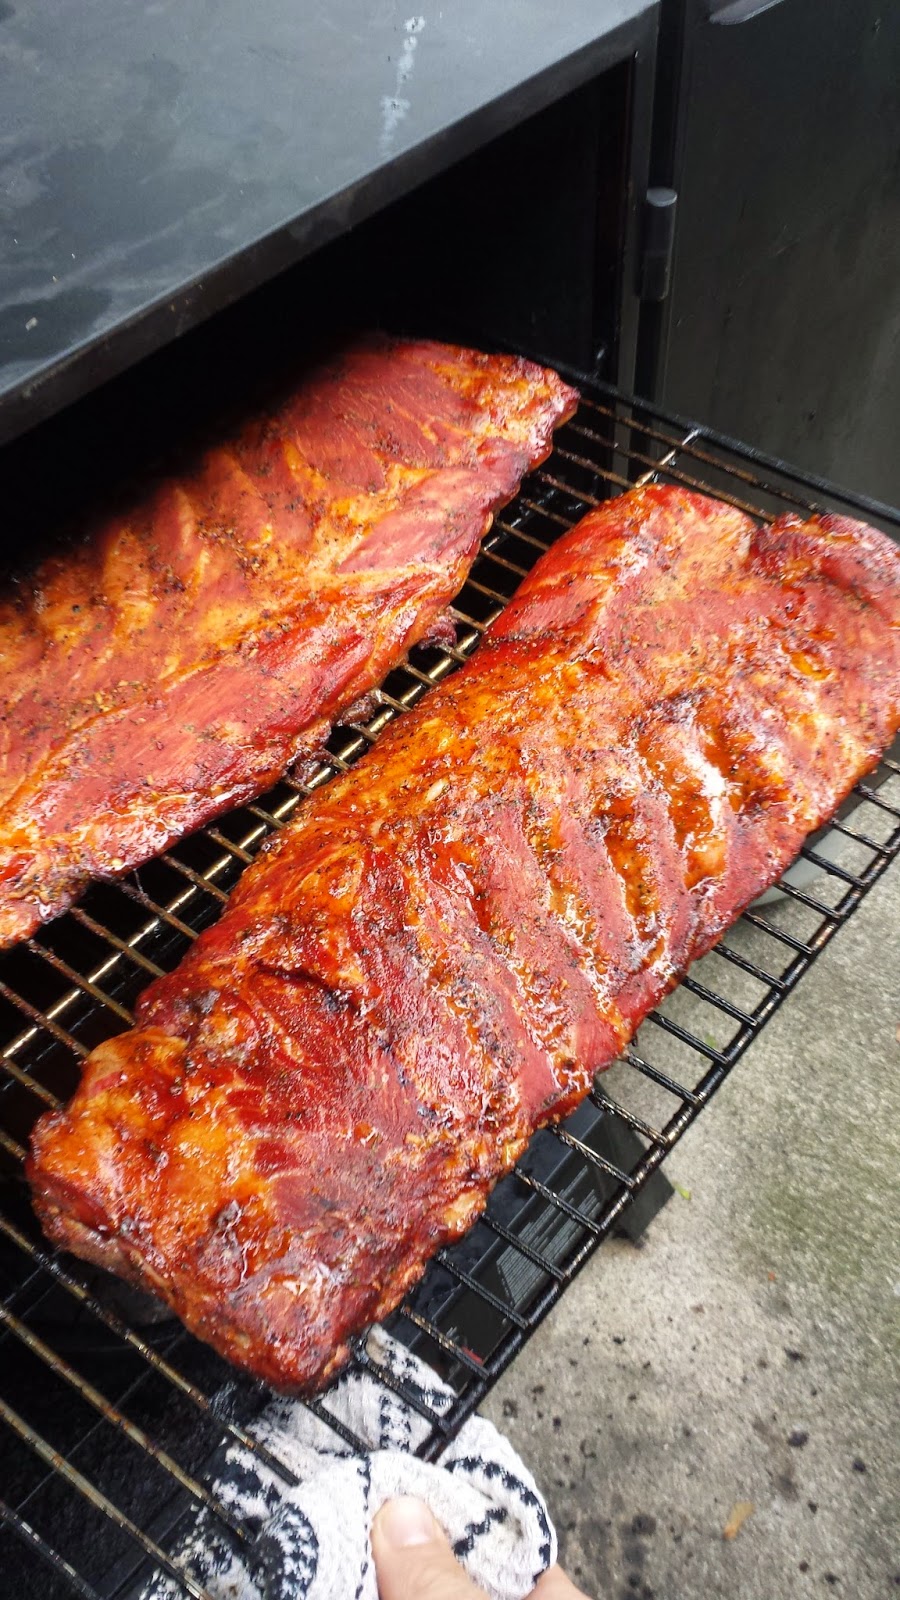
Beyond just the gadgets and tools we use to monitor our meat’s progress we also require an understanding that meat has a mind of its own, so to speak.  I present for your consideration a small tale of two beings, locked in unending struggle.  The epic story of meat’s fight to be unpredictable and one man’s journey to understanding. Enter our protagonist; a BBQ enthusiast with over 7 years of competitive BBQ experience.  A BBQer who has cooked more than a thousand pounds of pulled pork in that time period.  Behold the nemesis; pork shoulder.  In that 7 years our hero has been in a constant battle to put these pork shoulders in a cooker and have them cook at a relatively consistent rate.  The result?  Pork taking as little as 12 hours and in one extreme case just under 24.  The morale of the story? Don’t fight the meat.  It is boss.  It decides when it wants to come off the cooker.  It calls the shots.  All we can do is show it the path to completion and give it gentle pokes and prods here and there to speed it on its way.  This applies across the board in the world of meat and is by no means unique to pork.

845ec-20140729_173302

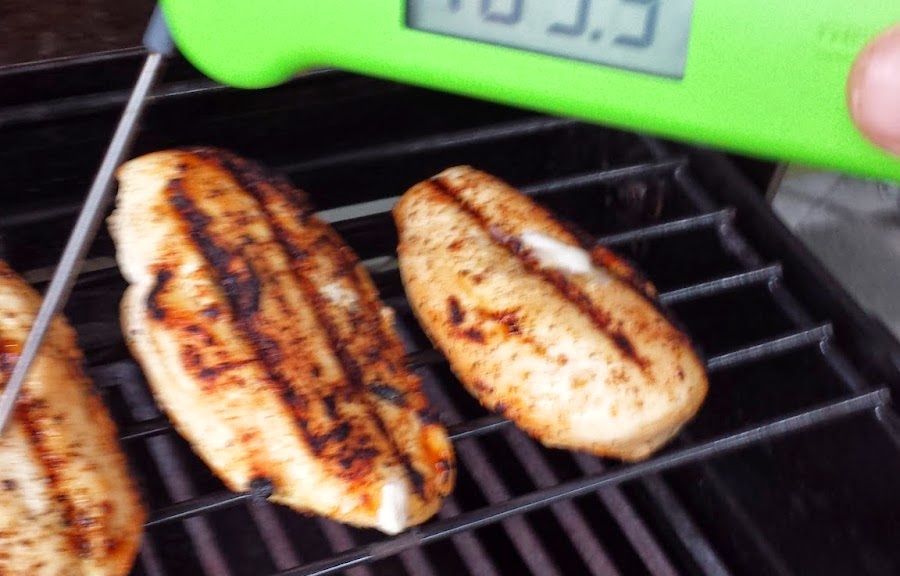
Introducing the Thermapen by Thermoworks.  The thermometer of choice by almost every serious competitive BBQer I know.  The reason? It is super accurate, has a small needle which creates a super small puncture hole in the meat and it is actually instant.  You have probably come across temperature reading products that boast “Instant Read” on them, especially meat thermometers.  Thermapen actually delivers on that promise.  The ability to lift a lid, open a door, remove a cover (or however you access your pit) for as little time as possible is just awesome.  The less time the lid of your BBQ stays open the more heat you retain and minimizes the amount of time required for the cooker to heat back up to the proper cooking temp.  When working with charcoal especially this is crucial.

Photo courtesy of www.hsn.com

If you prefer to monitor the meat during the entire cooking process get your hands on an internal meat probe. These beauties provide you with the ability to leave the probe in the meat throughout the cooking process.  I would recommend the Maverick Redi Chek brand available at www.bbqs.com.  Other cheaper brands of meat probes are available at almost every big box department store and some of the larger grocery stores.  They usually consist of a base unit with a display and a probe for the meat.

Of course there is always the old school method to meat reading….touch it.  There are countless web posts talking about how meat should “feel” when it is at a certain doneness.  This takes a tremendous amount of trial and error and experience.  Sure, I’ve tried it, however I will say this…I have been wrong just as many times as I have been correct.  I prefer my new fangled gadget thank you.  This is by no means a knock to those of you who prefer this method, but for me, why ride a bike when you can drive a sports car?

The ultimate conclusion would read as follows.  Timelines given to recipes that include large or tough cuts of meat should be viewed as simply a guide.  A suggestion really.  A rough idea on how long you can expect to be committed to your current culinary adversary.

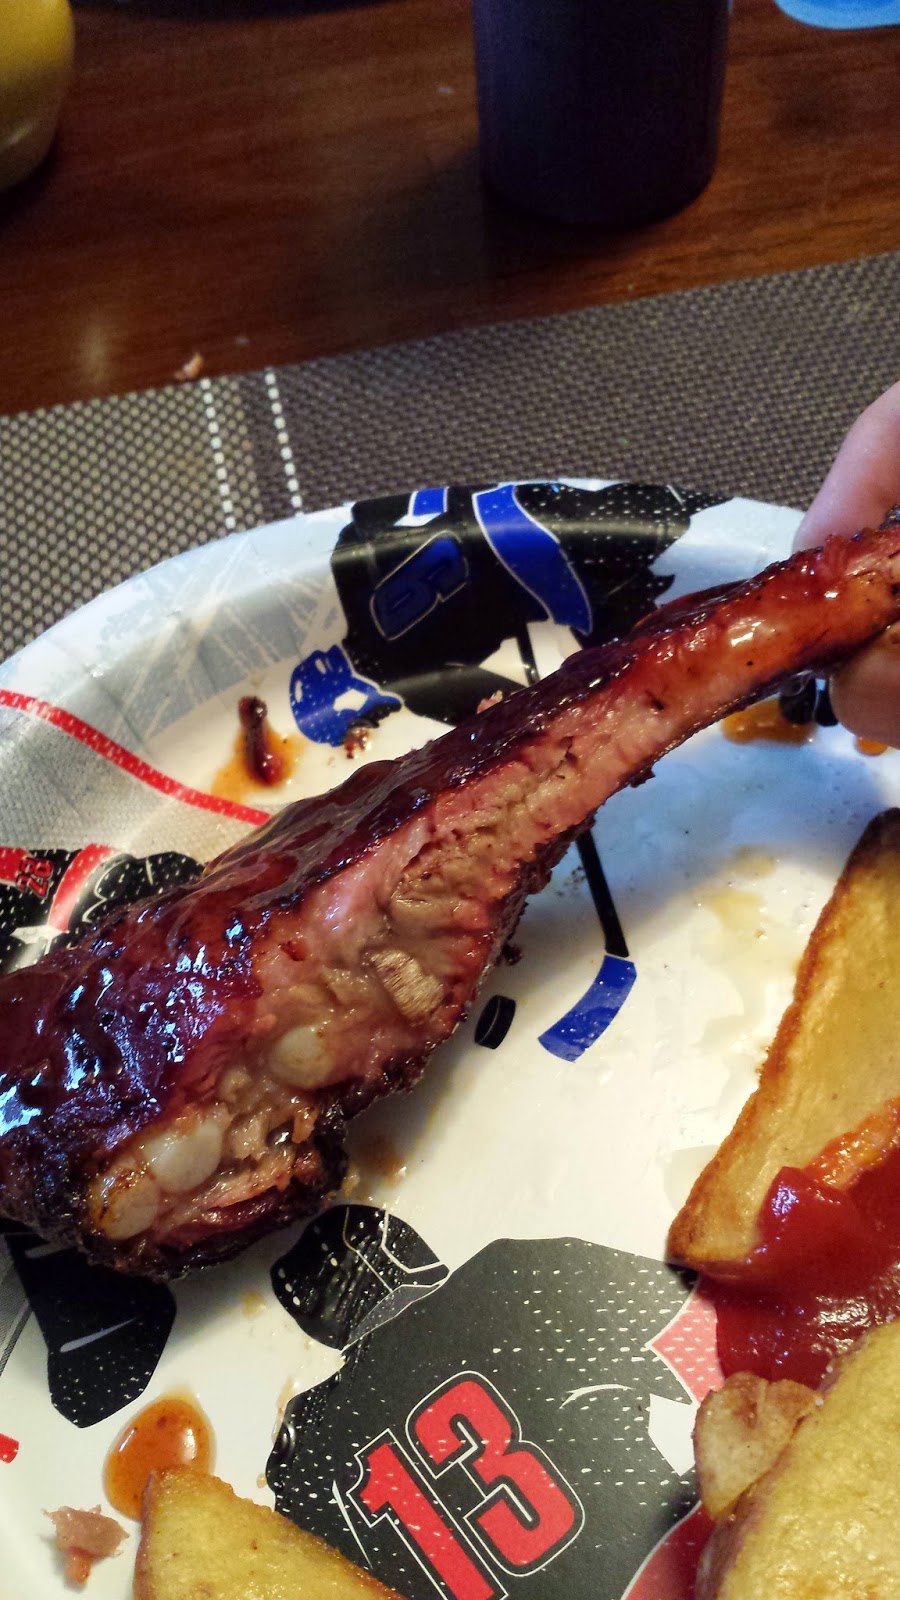
Investment in an accurate temperature measurement tool can save you not only heartbreak at the dinner table but also give you a tool that you can use to ensure you get the results you desire.  Steaks cooked to the exact doneness you prefer.  Chicken that is both fully cooked and full of moisture.  Pork tenderloin wonderfully charred on the outside but still slightly blushing with a hint of pink on the inside.  It is by far my most relied upon BBQ tool beyond the cooker itself.  Get one.

If you have any questions about these products please do not hesitate to leave a comment below and I will do my best to help you out!

M.D.

Whole Hog

Whole Hog…The mother of all BBQ feats. The task that makes even the most confident backyard warrior think twice.  I decided it was time. I decided I was ready.  The results were better than I hoped for.

20140913_171501First, let me start by thanking some people.  These people were a big help with the cooking of this pig.  They helped me wrangle the pig, get the pig in the racks, move the grates and pans around, pull the pig apart once it was cooked and of course, taste test it once it was done.  A big thanks to Casey, Joel, Uncle Mark, Chad, Shane, Matt, Amy, Jill, Sarah, Carissa and everyone that was on hand to help put the rest of the shindig together.

As I posted earlier on this blog I was aiming to get my hands on a La Caja China Roasting Box…well, I got one.

20140913_161957I went with Model #2.  It is the bigger box and can handle larger pigs.  Go big or go home, right?

I ordered the pig from Kohns in London.  I asked for a 50lb pig, dressed weight, butterflied open.  “Dressed Weight” simply means all the guts and nasty bits are removed and you have a clean carcass.  “Butterflied” means they split the backbone for me so that the pig will lay flat.  When I arrived to pick up the pig it was 52lbs and they split it perfectly for me while I was there.  I highly recommend you become friends with your butcher.  I highly recommend Kohns.  Always great service and quality.

My buddy Casey was with me when we picked it up.  We put it in a big cooler with some blocks of ice to keep it cool.

20140912_143229The day before I had prepared the injection I was planning to use and the dry rub for the pig.  Because this was my first attempt and because of the hours and hours of videos I watched on Youtube regarding cooking a pig I decided to stick to a tried and true approach.  I used the injection and rub suggested by La Caja China, the makers of the box.  It is a traditional Cuban Mojo Criollo Injection and an Adobo Seasoning mix.  Both credited to Roberto Guerra of La Caja China.  I didn’t change a thing.

Mojo Criollo

Ingredients

  • 3 heads garlic, peeled
  • 1 teaspoon whole black peppercorns
  • 2 teaspoons coarse salt
  • 1 1/2 cups freshly squeezed sour orange juice (or 1 cup freshly squeezed orange juice mixed with 1/2 cup freshly squeezed lemon juice)
  • 1/2 cup pineapple juice
  • 2 teaspoons oregano
  • 1 teaspoon ground cumin
  • 1 teaspoon ground bay leaves

Directions

  1. Place garlic, peppercorns, and salt in a large mortar and grind with a pestle to form a paste. Stir in sour orange and pineapple juice. Add oregano, cumin, and bay leaves; stir to combine. Let stand at least 1 hour before using.

20140911_210714

Adobo Seasoning

Ingredients

  • 1/2 cup coarse salt
  • 1/2 cup garlic powder
  • 1/4 cup onion powder
  • 1/4 cup ground oregano
  • 4 teaspoons ground bay leaves
  • 1 tablespoon ground cumin
  • 1/2 teaspoon freshly ground black pepper

Directions

  1. Mix together all ingredients in an airtight container; cover and let stand at least 12 hours before using.

20140911_212108

The day before we planned to cook the pig I injected the pig all over but focused on the hams (back legs), shoulders (front legs), loin (attached to the ribs) and the belly meat (the..well…belly of course).

It’s worth noting that I strained the injection before I used it so any large chunks wouldn’t plug up the needle on the injector.

After injecting the pig I coated both the skin side and the open side with the seasoning blend.

20140912_150024 20140912_150028

It was back into the cooler at this point for the night for the injection and spice blend to do their work.

The next morning the pig was brought out about an hour before we planned to cook it to come to room temperature as suggested in the cooking instructions for the pig.  Notice in the picture below the difference in colour of the meat.  The seasoning and injection did it’s job.

20140913_114306

The pig was then put into the racks that came with the roasting box and closed using the “S” hooks provided.  Here is a tip for you; this is not a 1 person job.  It took 3 of us to get the hooks in place.  Two people pressing down on the side of the rack and one person placing the hooks.

Once we FINALLY had the pig in the racks it was time to enter the roasting box.

20140913_124503

You will notice there are some wires coming out of the pig.  We attached a couple meat probes in the pig to monitor the progress as it cooked.  Next time I won’t bother.  If anything, all the probes did was add stress where none was needed.  The directions they give you right on the side of the box are all you need.  I followed them exactly and am glad I did.

We used the instructions for a 51 to 100lbs. pig.  We did this because you will notice that the pig weights on the box are based on “Live Weight” not “dressed”.  Live weight is the total weight of the pig before any cleaning or butchery is done.  Because our pig was 52lbs dressed, it was easily 60-70lbs live weight.

Once the pig is in the box, place the top charcoal grate and ash pan to seal the box.  We started with the recommended 18lbs of charcoal, placed in two piles to light.  Here is the hardest part of the cook.  You can NOT lift that lid.  For no reason.  Not even for a second for a quick peak.  JUST DON’T DO IT!

20140913_125414

We doused in lighter fluid and let them burn until almost all of the coals were turning grey, meaning they were on fire and burning.  This took about 20 minutes.  I then spread the coals out evenly over the top of the box and began my timer.

20140913_131115

The instruction on the side of the box calls for adding fresh charcoal every hour.  Based on the weight of our pig I added 10lbs of charcoal after 1 hour and then another 10lbs after the second hour.

20140913_151546

You do not need to worry about starting the charcoal in a chimney or anything like that.  The already lit coals will ignite the fresh coals.  Make sure you follow the amounts on the side of the box and spread it out evenly when you add it.

The next step was to add 12 lbs of charcoal 30 minutes after the second 10lbs of charcoal was added.

20140913_161957

30 minutes after the 12lbs were added it is time to finally see what the pig looks like.  The instructions call for you to remove the ash from the ash collection pan.  This will remove all the ash which is actually reducing the amount of heat the pig could receive.  By removing this ash we will get a very high temperature in the box which we need at this point.  We will be turning the pig over to crisp the skin.  High heat is definitely needed for this.

Lift the charcoal grate and shake to remove the ash.

20140913_162502Place the charcoal grate on the handles, remove the ash pan and dump it out.

20140913_162559Here is a tip we learned.  Make sure that when you shake the charcoal pan that you do it gently and try to keep things that can light on fire away from the box.

Now, the moment you were waiting for.  Your first peak into the box.

20140913_162631

As you can see, the pig is nicely roasted on this side at this point.  There are areas that look dark on this picture, they weren’t burnt.  They were actually nice and crispy and tasted great.

Time to flip the pig.  Grab the rack at one end and lift.  Let the bottom slide to the opposite side of the box from where it originally was placed then lower the top end back down. This can easily be done with one person.

20140913_162636

As you can see from the picture below, the skin side is seriously missing some colour.

20140913_162650

Take a knife and score the skin in an “X” pattern in each of the rectangles created by the rack.  Be careful to not cut too deeply.  We just want to score the skin, not the meat.

20140913_162729

We decided to try 2 beer can chickens in the box at this point just for fun.  They turned out awesome.

Put the ash pan back on the box and put the charcoal grate back in place.  It should take between 30-45 minutes to crisp the skin.  Check the skin after 30 minutes.  If it is not done to your liking, cook for another 15 minutes.

Here is what our pig looked like.

20140913_171501

Take the pig out of the cooker, remove it from the rack and let rest for about 30 minutes.

You will need a heat resistant pair of gloves for the next part.  Separate the pig and pull the meat from the carcass and serve.  The meat will be so tender you will not need any type of knives or tools for this.  The only thing I used was a cleaver to make cutting up the crispy skin easier.  The skin was awesome.  Glass shatteringly crispy and tasty.

20140913_174040 20140913_174305

Start to finish the pig took 4 hours and 45 minutes. It was relatively easy to do and everyone loved the pig.  I would change absolutely nothing.

Serve with some nice salads, buns to make sandwiches, mustard and sauces and enjoy!

MD

Chicken Burger

So I wanted a Chicken Burger for lunch today.  When I get this craving the last thing I do is hop in the car and head to the Golden Arches or go to the freezer.  I reach right for my trusty boneless skinless chicken breast.  It tastes better, is quicker than the frozen kind and you get WAY more meat in your sandwich, trust me.

The big difference between cooking the breast for burger destiny as opposed to just on our plate with some sides is in the prep.

I want my chicken to be burgerish.  Now in its original state it’s not, and would require more cooking over a lower temperature than we cook most burgers.  It’s lunch, I’m looking for something quick that I can throw over high heat to get it done as fast as I can.

So I pounded the snot out of it.

I used the flat side of a meat mallet to flatten the whole chicken breast to about a 1/2 inch.  This does 2 things.  It will make it cook substantially quicker since it is thinner and it will also make sure it all cooks evenly.  Plus, more surface area gives us more space for seasoning and char.

If you don’t own a mallet, no biggie, use a pot, frying pan or even a wine bottle.

 Notice I put the chicken in a ziploc bag before I started beating it into submission.  This helps protect the meat from tearing as I hit it.  Another trick is to take your time.  You don’t have to get it perfectly flat in 3 hits.  This probably took a good minute of pounding.

Now I just brushed on a little olive oil on each side and seasoned with Lowry’s Seasoned Salt and ground black pepper on both sides.

Off to a preheated grill set to Maximum (High).

Follow the same principals here as in any other meat on the grill recipe.  Try to only flip it once and once it’s on there leave it alone until it is ready to flip.

Because we pounded it out so thin it will only take about 3-4 minutes a side.

Flip halfway through cooking and continue to cook on the other side.

When I flipped it this is when I took the opportunity to grab a nice seasame seed bun and throw it on the grill to toast up as well.  Be careful, we are cooking on high, we don’t want that bun to burn.  Use your top rack if you find it getting too toasted too quickly.

 Once the bun is toasted and the chicken is cooked, it’s off to the kitchen.

Time to build our burger.  Sliced tomato, iceburg lettuce, Mayo and some pepper is all I did here.  I cut up the chicken into pieces that would fit on the bun.  Plus it looks massive when you pile the chicken up like that 😉

And voila, it’s lunch time.  Total time from start to finish, 15 minutes.

Enjoy!

MD

Steak Dinner

So last night I let the choice of meal fall to my wife and she decided in her wisdom that it was a good night for steak.  Who could disagree?  I also left the choice of side dishes up to her as well, besides one.

The menu?  Marinaded Steaks with Roasted Mini-Potatoes and Sauteed Mushrooms.  The item she didn’t pick that I added in was the Steamed Broccoli.

THE PREP WORK

STEAK

Because we were planning to marinade the steak we went with top sirloin.  I’m not going to get too much into what steaks to pick for what in this particular blog but I will cover it at some point.  For now here’s an easy tip.  Read the label on the meat or ask your butcher if you go to a meat shop.  The labels usually use terms like “marinading” “grilling” etc.  This is a good indicator if you need to do anything to them ahead of time.

I made a simple marinade of Worcestershire Sauce, Soy Sauce, Maple Syrup, Garlic, Salt, Pepper, Olive Oil, Dijon Mustard and Orange Juice.  Because these are marinading steaks we want to make sure we use something with a bit of acid to help tenderize the meat, hence the Orange Juice.


 I put the steaks and the marinade in a big ziploc and marinaded for about 6 hours.

POTATOES

Everyone in my house loves those little roasted potatoes.  I have made these things at least a hundred times and they are very versatile as far as what flavours you can add.

Pre-heat your BBQ to full blast.

I started by washing and then cutting the little guys in half.  This is for one simple reason. More surface area.  The more surface area you have the more chance you have to get that nice golden brown crisp on the outside of each bite. Once they are cut, toss them in a big bowl.

For the seasoning I start by pouring in a good glug of Olive Oil.  This will help the seasoning coat the potatoes and help to crisp them up as they cook.  Next I add in Thyme and Garlic Chives from my garden, dried rosemary and salt and pepper.

 Mix it up really well to make sure the seasoning is well distributed and pour out on a large piece of foil.  I use the heavy duty foil to make sure that I don’t get any holes in the foil.

Fold the foil in half lengthwise and crimp down to seal the package across the middle.  Then roll up the ends to totally seal the packet.


Toss them directly on the BBQ and shut the lid.  We will cook the packet for roughly 20 minutes, flipping the packet half way through.

MUSHROOMS

Now that the potatoes are on, lets get started on the mushrooms.

You can either buy and slice your mushrooms or buy them pre-cut.  I happened to be at Costco a few days ago and picked up a big pack of presliced Crimini Mushrooms (also referred to as Mini-Bellas as they are baby portobella mushrooms).

I want these guys to cook in butter to give them that nice flavour, but there is one problem.  Butter will burn very quickly over a very hot flame.  The solution is simple.  Put a splash of olive oil in with the pad of butter.  The oil insulates the butter and helps to prevent it from burning.  Plus the oil will help to brown up the mushrooms.  The best of both worlds!

 In the second picture you can actually see the butter being “protected” by the oil.

I simply waited till the butter and oil were nice and hot, tossed in the mushrooms with some salt and pepper and cooked until they were as soft and browned as I like.

 BACK TO THE STEAK

The steak is the very last thing I cook.  It takes the least amount of time believe it or not.  About half way through cooking the potatoes I threw the steaks on.  Remember, we have the grill as hot as we can get it here.  The goal is to get a nice crust on the outside of the steak with some nice grill marks but still have the inside done to our likeness.  I always shoot for medium-rare.  This is obviously personal preference.

Toss on your steaks and shut the lid immediately.  DON’T KEEP OPENING THE LID AND FUSSING WITH THE STEAK.  We don’t want to loose all that heat we built up while preheating and if we keep moving them around we won’t get the nice grill marks and crust we are aiming for.

Fancy trick.  If you want to get those nice cross-hatch grill marks you see on steaks in restaurants or on TV its actually quite simple.  After the steaks have been on for a couple minutes, turn them a quarter turn on the grill and shut the lid.  When you flip them at the half way point in the cooking this is what you should see.

Mine aren’t perfect here but you get the idea.

Flip the steaks at the half way point in the cooking and continue cooking on the other side with the lid shut.

Make sure you only flip your steaks once.

When they are done to your likeness, pull them off and let them rest.  (I promise I will do a blog post on steak selection and cooking to your desired liking).

DO NOT CUT INTO THEM RIGHT AWAY

I timed my steaks so that everything was done at the same time so when I pulled the steaks off, the potatoes came too.

And here is the full spread once everything had a chance to rest and we were ready to eat.


By the way, the broccoli I just steamed until tender but still a bit crisp.

MD

BBQ Sauce

BBQ SAUCE

A good BBQ Sauce can make good BBQ great and a great BBQ Sauce can make great BBQ amazing.  The trick? Realizing that BBQ sauce is a personal taste thing and not everyone will like the same sauce.  The solution? Experimentation.  Try a sauce and see what everyone thinks.  The best advise (in my opinion) I give anyone on topics like this is to ask people who you know won’t sugar coat their words or their opinions on your creations.  Guess what, if I ask my Grandmother what she thinks of anything I make, she’s going to “love” it. Great for the ego, but not great for finding something that works.  We should be working towards creating a sauce that will have enough layers of flavour that your whole family will find something they like in it.

For example…If I make a sauce that is nothing but all sweet flavours, someone like myself who prefers savory and spicy flavours probably wont enjoy it.  If I make a sauce that is nothing but pure heat, then anyone with a sensitive tongue is going to be looking for the closest faucet to wash the sauce off.  Now, if I make a sauce that is sweet, has a hint of savory elements and has a little kick of heat at the end, I’ve found a winner for my house.  Your house, your flavours.

Here is the basics.  You need to decide on the type of sauce you want to make.  You can Google “BBQ Sauce” and you are going to see terms like Kansas City Style, Memphis Style, Carolina Style, Texas Style, etc.  The differences in these sauces is mainly what they use as their base, or main ingredient.

There are 3 main bases that most BBQ sauces start from.  Tomato or Ketchup, Vinegar and Mustard.

Choose the base you think will work for you.

THE BASE

Now take this nugget of information as a hint on where most people in Ontario (and Canada for that matter) find their tastes directing them. Go to the grocery store and hit the BBQ Sauce isle. Try to find ANY sauce that isn’t a tomato based sauce.  See any?  Probably not.  The people in our neck of the woods traditionally are suckers for thick, mahogany red, sweet and sticky BBQ sauces.  Sure, you can get garlic, spicy, honey, whiskey, etc. but guess what they all have in common?  Red. Sweet. Thick. Tomato.

Here’s a rough guide to your choice…  Tomato for almost all sauces including those you put on the meat as it cooks so it gets nice and caramelized and sticky.  Vinegar if you don’t like sweet at all and want something “zippy” and more of a finishing sauce you mix into the meat at the end or dunk your meat in as you eat.  Mustard if you are looking for a more savory sauce.  Now this is REALLY rough.  You can definitely make a sweet vinegar sauce or a savory tomato sauce.

Here’s another thing to consider.  Pick up any tomato based sauce in the grocery store and look at the ingredients.  Know what you are gonna see? Vinegar.  I almost guarantee it.  You don’t have to limit yourself to one and done.  Mix and match!  And don’t be afraid to go beyond straight Heinz ketchup, White Distilled Vinegar and French’s Yellow Mustard.  There are plenty of varieties of each base out there.  Open up your mind to Cider or Rice Wine Vinegar, Grainy or Dijon Mustard, etc. You will be happy you did.

Now that you have your base, decide what you want it to taste like.

Want it sweet?  Here are a list of things you could add to the sauce to sweeten the works up:

Sugar (brown, white, raw, maple), Honey, Maple Syrup, Corn Syrup.  Those are the usual culprits.  But don’t be afraid to think outside of the box.  Have a few peaches lying around that you haven’t eaten yet?  Cook em up, blend them and throw them in!  I’ve seen TONS of fruit based sauces.  Blueberry, Pineapple, Peach, Mango, etc.  Have something else in mind? Use it!  In the words of the Urban Peasant, James Barber: “If you like it, put it in. If you don’t, leave it out!”.


AROMATICS

These are ingredients that are used to build a flavour base in sauces, stews, soups, whatever.  In the BBQ sauce world onions and garlic reign supreme as well as some strong herbs like basil, oregano, rosemary, thyme.  These are only a few of literally hundreds you can choose from.  In most sauces you won’t be able to pin point the onion flavour, or the garlic, or the other vegetables and herbs used to build that base but trust me, you would notice something was missing if I lined two sauces up side by side and one didn’t have them in there.  Choose the aromatics that you think will go well with the base you picked and the overall goal of the sauce.  Want something sweet?  Caramelize a sweet onion until they are nice and brown and full of sweet flavour as your base.  Want something savory? Just sweat the onions until soft, toss in some power herbs like rosemary and thyme.  Want some heat?  Pull out the jalapenos or chipotle peppers.  The choices and combinations here are limitless.

SPICES 

This is where you take the sauce and truly customize it.  Some spices will instantly transform your sauce from generic to truly unique.  Because of this you need to be a bit careful in what you add but you also can’t be afraid of adding enough to make it stand out.  For example, if I want to make a curry style BBQ sauce but only add a 1/2 teaspoon to 4 cups of sauce you might notice it but probably not as a main flavour.  Now, in my opinion, if you are making a curry BBQ sauce it better taste like curry.  Toss in a couple tablespoons.  Want a sweet and savory sauce?  Cinnamon, clove, mace, ginger, etc.  Spicy? Cayenne Pepper, Black Pepper, Red Chili Flakes…  Mix and match here.  The place where you need to be careful however is in the quantity.  Something like 2 tablespoons of cinnamon in a couple cups of sauce will make everyone think they are eating a Cinnabon.  I think you get the picture.

Experimentation here is key.


OTHER FLAVOURINGS

The sky is the limit here.  This is where you can add Whiskey, Tequila, Rum, Beer any type of booze.  Apple, Pineapple, Peach or any fruit juice.   Coca-cola, Dr. Pepper, Root Beer, any soda.  Again.  If you are trying to impart a flavour, go for it.  Don’t be shy!

Hot and Cold.  Meat or No Meat. The Meat Itself.

Here is something that blew me away when I realized it.  It blew me away because I didn’t realize it sooner and made me feel stupid for not.  Your sauce will taste different cold than hot.  It will also taste different on meat than on your finger or a spoon.  Simple right?  Took me a long time to figure this one out.  Try taking a big whiff of a sauce as you cook it with a good amount of vinegar in it.  It will take your breath away.  Let it cool and put it on some pork and it will be mellow and delicious.  Take a small spoonful of a sauce you are trying to make spicy.  Not that spicy yet?  Let it cool and meld into the sauce for a couple hours and poof, it will blow your head off.    Making a sauce for a beef roast you have on the rotisserie?  Why test it on a piece of chicken?  Making a nice mustard based dipping sauce for the ham you have in the oven?  Have a couple slices of ham ready to go to drip some sauce onto to test it out and see what it needs.  Morale of the story…If you are creating a sauce, make sure you test it out in the application you plan to use it.

Now, for the people who have eaten our BBQ Team’s food in the past and have literally begged us for the recipe.  I’m sure some of you saw this post and were hoping against the odds that I was about to spill the beans on our BBQ Team’s sauce.  The one we have won championships with.  The one that got us our invitation to the Jack Daniels World Championship Invitational BBQ.  The one that only 3 people on the planet knows how to make.  I obviously won’t be sharing that, sorry!

But here is what I can tell you.  It’s ketchup based.  Sweet with a bit of heat.  That’s all you’re getting.

Want a recipe that most people will like?  Here is one that will hit a lot of taste buds out there and work as a very good all purpose sauce for all meats.

If you have a question about sauces in general or the sauce below, please do not hesitate to ask!

MD

Dr. Pepper Sweet and Spicy BBQ Sauce

INGREDIENTS

THE BASE

2 cups Ketchup

2/3 cup Brown Mustard

2 Tablespoon Apple Cider Vinegar

(look all 3 bases!)

2 cup Brown Sugar (the sweetener)

AROMATICS

6 cloves Garlic, Minced

1/2 a Sweet Onion, Caramelized

2 Chipotle Peppers Packed In Adobo (want it spicier? add 3 or 4 or 5…its up to you)

SPICES

1 teaspoon ginger

1 teaspoon cinnamon

salt and pepper to taste

OTHER FLAVOURINGS

1 Tablespoon Worcestershire Sauce

2 cans Dr. Pepper

INSTRUCTIONS

  1. Place all of the BASE ingredients in a big pot and bring to a gently boil over medium high heat. Make sure you stir this stuff constantly.  It will burn if you don’t.
  2. In a frying pan, caramelize onions over medium heat until dark brown and sweet.
  3. Place the onions and the rest of the aromatics in a food processor or blender and puree. Add to the pot with the BASE ingredients.
  4. Add in your SPICES and OTHER FLAVOURINGS
  5. Continue to gently boil until the sauce reduces and thickens up.  About 30 minutes.
  6. Because of the ketchup there is probably a gross looking red film on the top of the sauce.  Spoon this off and throw out.
  7. Let cool completely and bottle.
  8. Put on your favourite meats and enjoy!


Ribs

Definitely one of the most popular items everyone thinks of and craves when they think of BBQ.  We have an entire “Fest” in London in honour of them after all!

This weekend just happens to be Ribfest.  However, I didn’t feel like heading downtown and spending big bucks on a small taster of ribs when I know I can make 10 times as much food for a 10th of the cost and make them exactly how I like them.

Inspiration for this actually hit me while at Costco.  I wasn’t there for Ribs but then I saw this….

Now normally I’m not a fan of pre-seasoned anything.  I like to use my own homemade rub to get the taste I’m after but these called out to me and who am I to ignore the call.  Plus, they were only $20 for 2 rather good size slabs of St. Louis Cut Side Ribs.  Normally I get Back Ribs as this is what most people prefer.  But I felt like a change.

Off I went (after a few samples and a $1.50 hotdog and drink!) to the smoker.

Here’s what they looked like opened up and laid out….not bad!

 On the top shelf of my Masterbuilt Propane Smoker with some Cherry Wood chunks (3) smokin up the scene…

Smoked them at 230 degrees for about 4.5 hours.

Now, if you don’t have a smoker you can still pull this off.  You will need a BBQ with at least 2 burners (preferably more) and enough room for the ribs.

Turn one side of the BBQ on to about Medium-Low or whatever temperature you need to achieve 225-240 degrees on your BBQ with the lid shut.  Leave the other side of the BBQ OFF.

Create a smoke pouch by getting some tinfoil and some wood chips (available almost everywhere with a decent BBQ section), soak them in water for a couple hours and put about 2 cups of the chips in the foil and fold the foil over and crimp to create a pouch.  Take a fork and poke a bunch of holes in the foil.

Place the smoke pouch on the burner that is on.  Wait for the first wisps of smoke.

Place the ribs on the side of the BBQ that is OFF.  Shut the lid.  DO NOT OPEN THE LID for at least 2 hours ensuring the BBQ stays in the desired Temperature range.

At the 2 hour mark rotate the ribs so that the rack that was closest to the ON burner is now farthest away.

Close the lid and cook for another 2 hours approximately.  Sauce Ribs and cook for another 30 minutes.

Test rib doneness by picking up the rack with a pair of tongs.  If the racks looks like it is about to fold in half and break, you are set.  By the way, you don’t want them to break.  If they do, you went too far.

EAT

Here is half way….

Almost there…

Once they were almost done (30 mins. left to go) it’s time to add the sauce…

I used my homemade sauce…It’s a sweet with a bit of heat type sauce.  Most people who try it love it.

Here is the final product….

Good flavour from the rub. You can see the pink around the outside of the cut rib.  That’s where the smoke got into the meat.  It turns meat pink.  Plenty juicy and plenty tasty.  My verdict…the Costco pre-seasoned ribs are definitely something I would get again and would recommend to a friend.

Any questions??

Me

Hi, my name is Mike Deman and I am a BBQer.

For the last bunch of years I have been a part of a professional BBQ team (Can’t Stop Grillin’) that travels around North America competing in BBQ contests. Not rib fests mind you, the real deal. Contests where you compete in different categories and submit your offerings to judges in a blind tasting. Awards are then dolled out but it’s more about the bragging rights and the fun and challenge of it all.
The team I have been part of has had some fairly decent success. Highlights for me would be winning multiple grand championships in Canada and the USA, winning an invitation the the Jack Daniels International BBQ Championship in Lynchburg,  cooking for the US Ambassador and a few thousand of his closest friends for a 4th of July party at the US Embassy but most of all….showing my kids that meat comes from animals, veggies are grown in the ground and there’s more than just ketchup that belongs on a burger.

I love to eat. That’s my inspiration for sure. My other inspiration is the people around me.  I think with anyone who enjoys cooking the best part is watching others try your stuff. I love sharing what I cook and feeding as many people as I can something that maybe they have never had before.

With having a wife and 2 young boys I’m a pretty busy guy. But never too busy to throw something in the smoker for a friend or bbq something up and spend some time with family.

MD

Welcome!

Well….

Here is something I never in a million years thought I would do; create a blog.  I mean really, who could possibly be that interested in reading what I have to say or to be honest; how could I possibly think anything I have to say could be that interesting?!

This blog exists as it is now because of one specific reason.  I have been asked multiple times over the last few years for recipes, tips, tricks, advise, etc. on all things food, cooking and bbq.

So, I am going to en-devour to log all things creative, new, interesting and whimsical here on this page for all to see.  If you come here once or come here a million times that will be up to you.

What I hope is that this is a page to share what my friends and family have enjoyed and how I went about creating those items.

With all that said….welcome!

Look around and who knows what you might find!

MD