Tag Archives: cooking

Is It Done Yet?

Temp vs Time.  A battle as old as time.  The epic struggle between gut feeling and instruction.  The quest to understand that not all things are created equal and it is these differences that define it.

Now I’m not talking about any epic moral dilemma here, but simply the idea that not all recipes are created equal and not all items we plan to cook (especially proteins) can be “recipized”.  I just invented a word I think (autocorrect’s red underline lets me know!).

Let’s look at some facts.  Almost all recipes in existence will note a time till completion.  These road maps to our current culinary adventure give us something concrete and solid to hang on to and guide us.  For most recipes, you can follow them from stem to stern as written and end up with a wonderful dish.  Here is the exception: Meat.  Have you ever come across a turkey that was cooked for the recommended time per pound as suggested and still need 17 cups of gravy to get through it?  Have you ever cooked 2 pieces of chicken, one over done and one still pink?  Ever cooked a steak for 4 minutes per side and not end up with that perfect medium rare the website you were referencing promised?  Wanna know why?

Time is not king when it pertains to meat.  The key to successful protein perfection?  Temperature.

An investment in a decent temperature gauge for internal meat temperature will instantly improve your success with meat.

Beyond just the gadgets and tools we use to monitor our meat’s progress we also require an understanding that meat has a mind of its own, so to speak.  I present for your consideration a small tale of two beings, locked in unending struggle.  The epic story of meat’s fight to be unpredictable and one man’s journey to understanding. Enter our protagonist; a BBQ enthusiast with over 7 years of competitive BBQ experience.  A BBQer who has cooked more than a thousand pounds of pulled pork in that time period.  Behold the nemesis; pork shoulder.  In that 7 years our hero has been in a constant battle to put these pork shoulders in a cooker and have them cook at a relatively consistent rate.  The result?  Pork taking as little as 12 hours and in one extreme case just under 24.  The morale of the story? Don’t fight the meat.  It is boss.  It decides when it wants to come off the cooker.  It calls the shots.  All we can do is show it the path to completion and give it gentle pokes and prods here and there to speed it on its way.  This applies across the board in the world of meat and is by no means unique to pork.

845ec-20140729_173302

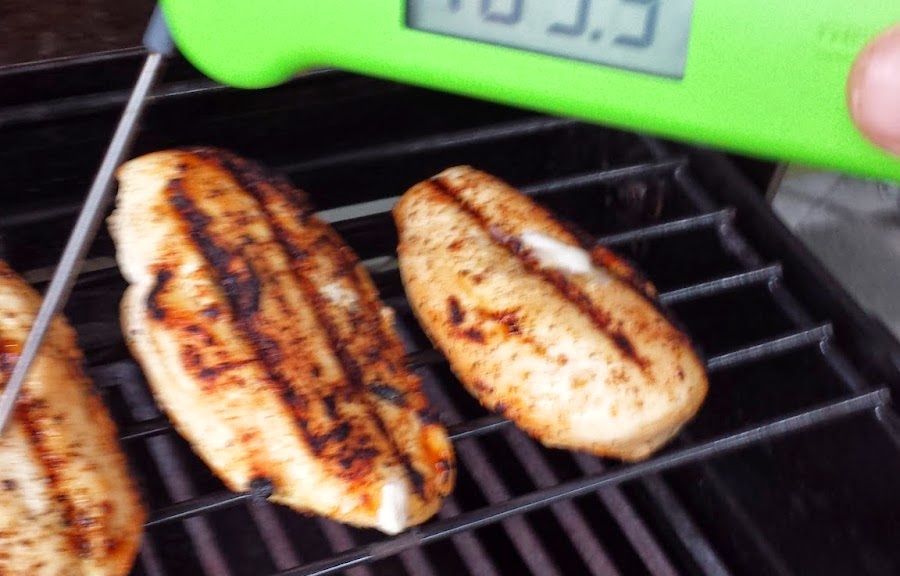
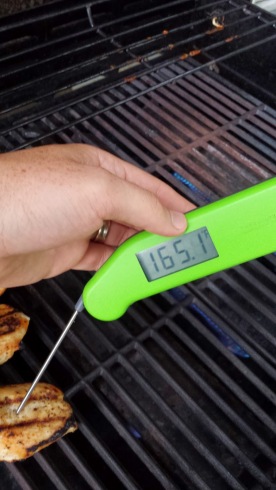
Introducing the Thermapen by Thermoworks.  The thermometer of choice by almost every serious competitive BBQer I know.  The reason? It is super accurate, has a small needle which creates a super small puncture hole in the meat and it is actually instant.  You have probably come across temperature reading products that boast “Instant Read” on them, especially meat thermometers.  Thermapen actually delivers on that promise.  The ability to lift a lid, open a door, remove a cover (or however you access your pit) for as little time as possible is just awesome.  The less time the lid of your BBQ stays open the more heat you retain and minimizes the amount of time required for the cooker to heat back up to the proper cooking temp.  When working with charcoal especially this is crucial.

Photo courtesy of www.hsn.com

If you prefer to monitor the meat during the entire cooking process get your hands on an internal meat probe. These beauties provide you with the ability to leave the probe in the meat throughout the cooking process.  I would recommend the Maverick Redi Chek brand available at www.bbqs.com.  Other cheaper brands of meat probes are available at almost every big box department store and some of the larger grocery stores.  They usually consist of a base unit with a display and a probe for the meat.

Of course there is always the old school method to meat reading….touch it.  There are countless web posts talking about how meat should “feel” when it is at a certain doneness.  This takes a tremendous amount of trial and error and experience.  Sure, I’ve tried it, however I will say this…I have been wrong just as many times as I have been correct.  I prefer my new fangled gadget thank you.  This is by no means a knock to those of you who prefer this method, but for me, why ride a bike when you can drive a sports car?

The ultimate conclusion would read as follows.  Timelines given to recipes that include large or tough cuts of meat should be viewed as simply a guide.  A suggestion really.  A rough idea on how long you can expect to be committed to your current culinary adversary.

Investment in an accurate temperature measurement tool can save you not only heartbreak at the dinner table but also give you a tool that you can use to ensure you get the results you desire.  Steaks cooked to the exact doneness you prefer.  Chicken that is both fully cooked and full of moisture.  Pork tenderloin wonderfully charred on the outside but still slightly blushing with a hint of pink on the inside.  It is by far my most relied upon BBQ tool beyond the cooker itself.  Get one.

If you have any questions about these products please do not hesitate to leave a comment below and I will do my best to help you out!

M.D.

Chicken Drumsticks

Chicken Drumsticks is one of my youngest boy’s favourite items out of the smoker. He asks for them from time to time and of course his Dad takes any chance he can get to play around on the smoker.

image

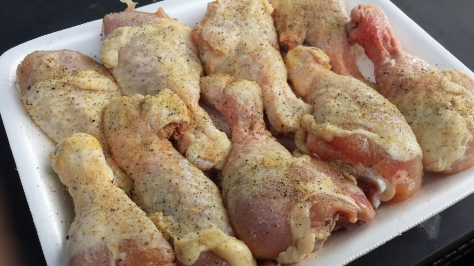
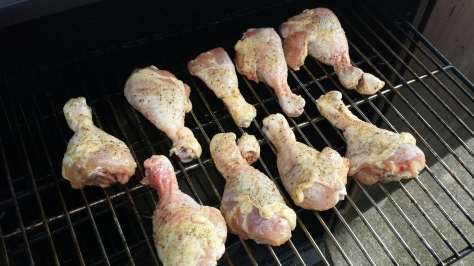
I use a simple rub of black pepper and seasoned salt on them.

image

Get the smoker running at 275 degrees and add a couple chunks of wood. I used hickory.

Place the chicken in the smoker.

image

Cook the chicken until it reaches about 180 degrees internal temperature. This will usually take about 45 minutes with medium size drumsticks. Once we reach 180 degrees we need to deal with the skin.

One of the issues with cooking skin-on chicken in a smoker is the texture. If you don’t cook it right it turns into rubber and is not pleasant to eat. So, at 180 degrees I will remove the water pan and wood tray from the smoker so the chicken receives direct heat. I also crank the temp up to full blast. This is a huge benefit of a gas smoker as this process is easy and fast. You could do the same with charcoal by removing the water pan in your smoker and opening up the air vents to get a higher temperature it will just take longer for the coals to get to full whack.

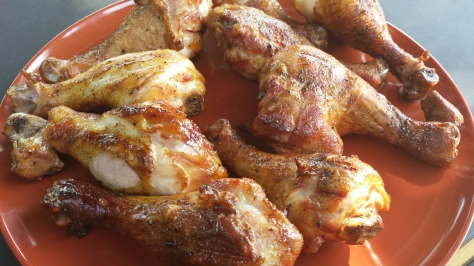
Cook the chicken at high temp for about 10 minutes, turning the chicken often. You will see the skin brown up nicely. You won’t get crispy skin but you will get bite through skin that tastes great.

At this point you can add sauce if you like or just serve as is. I personally like it with no sauce.

One thing to be prepared for however is pink meat. Smoke turns meat pink, there is no way to avoid it.  Whenever people see pink chicken they get nervous. You didn’t screw it up. This is why we use a meat probe. If you hit 180 degrees and then blasted it for 10 minutes over high heat it will be cooked. I promise.

image

Serve and enjoy!

MD

Pulled Pork

image

Pulled Pork is a great BBQ meal. It’s easy to do, is relatively cheap and tastes great. The popularity of pulled pork has sky rocketed in Ontario in the last few years. You can find a version of it in tons of restaurants now and lots of people making it in their crockpots or ovens. I always make mine in my smoker. The smoke makes it for me.  The only drawback to pulled pork (if there is one) is that it is a time commitment with the cook lasting usually 12-16 hours.

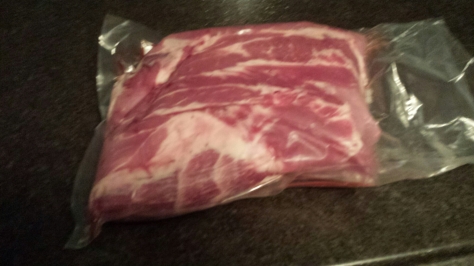
The traditional cut of meat you use for pulled pork is called a “Boston Butt” which is taken from the shoulder of the pig.  I order mine from Kohns in London. Never been disappointed in the quality. When you unwrap it you will notice a lot of fat on one side of the pork. This is called a “fat cap” and we want to keep it on. The only fat I would trim is any hard fat. If it feels soft leave it. This will help with moisture and flavour during the cook.

image

You will need a dry rub,  sauce and if you choose to do it, an injection. Injections are a great way of putting flavour way down deep in a large cut of meat. You can use anything you like in an injection. A good one for pork is to mix some pineapple juice with some soy sauce and hot sauce. 3 parts juice, 1 part soy and as much hot sauce as you like.
I didn’t use an injection on this pork but I do from time to time.

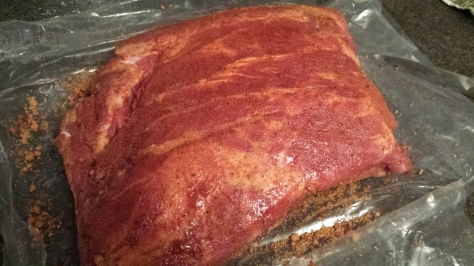
Start by injecting your pork and dry rubbing it about 6-12 hours prior to the cook. Put in the refrigerator and let get happy.

image

Fire up your smoker to 230 degrees. I used my Masterbuilt for this. Add wood to the fire (I used hickory) and wait for the first signs of smoke. I use wood chunks as they smoke longer. Start with 3 good chunks.

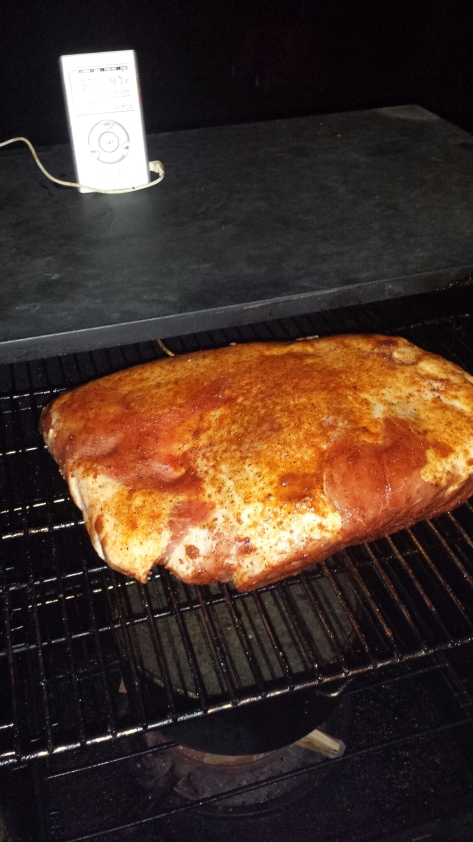
Put the pork in the smoker fat side up.

image

You can see in the above picture that I have a meat probe in the pork. This allows me to monitor the progress of the pork during the cook.
Keep adding wood as smoke dies out until the pork hits 140 ish. At this point the amount of smoke flavour the pork will take in will be miniscule so I don’t bother wasting the wood chunks.

The magic number I personally look for is 193 degrees internal temperature. This could take anywhere from 12 hours plus. It depends on the size of your pork. They are usually around 8-10 pounds.

One thing to be prepared for. At about 145-165 degrees the temperature of the meat is going to stop climbing and sit there for what feels like forever. This can even be hours. What is happening is at this temperature range the internal fats and connective tissues begin to melt and break down. Once this process is finished the temperature will start to move again. Trust the process. Don’t crank the temp. Just look away or go do something else while this happens. Staring at the meat thermometer won’t make it move, trust me, I’ve tried.

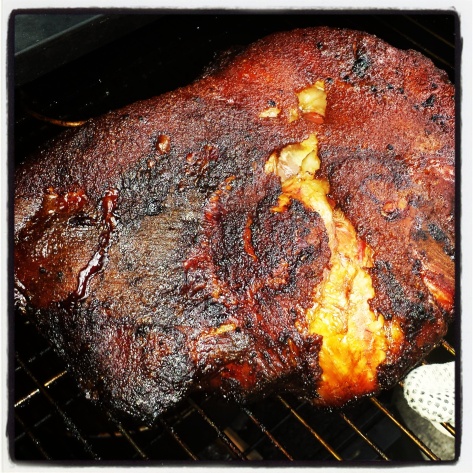
At 193 degrees you want to remove from the smoker. Should look sorta like this.

image

If it’s darker than this, that is normal. In fact I was a little disappointed this one wasn’t darker actually.  It’s not burnt. It’s called “bark” and is some of the tastiest parts.

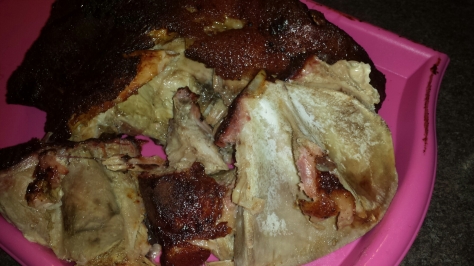
Here is an easy way to tell if it’s done properly if you don’t have a meat thermometer. There is a large bone in these roasts. You should be able to grab the bone and just pull it out with almost no resistance. If it comes out easily and clean you are where you want to be. If it won’t come out put it back in the smoker.

image

See the bone?

Break apart into large chunks and let sit a few minutes. It’s 9000 degrees right now.

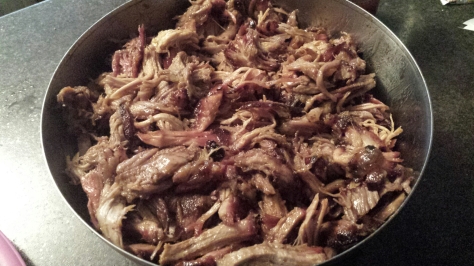
Pull the pork by hand. Discard any chunks of hard fat or any connective tissue you find. Keep in mind however that you do want most of the fat to stay. It’s good!

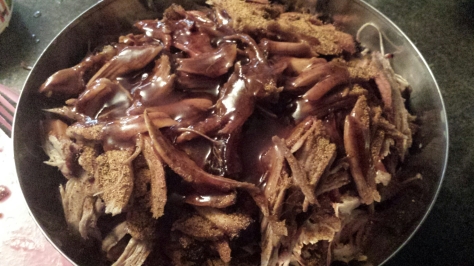
I always add a bit more dry rub into my pulled pork and my sauce and mix well.

image

image

image

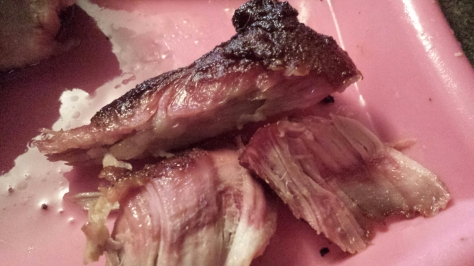
The pink is not undercooked meat. That is what the smoke does to the meat. It’s called a “smoke ring” .

Serve with coleslaw and buns to make awesome sandwiches!

Enjoy!